Sauteed Green Beans

This summer, I’ve gotten quite a few green beans in my CSA boxes. As a kid, I really didn’t like green beans. I’ve learned to like them as an adult, but I still wasn’t sure what to do with so many green beans! I did make the delicious warm green bean salad back in August, but I have also been experimenting with quick and easy ways to make green beans as a side dish. My favorite so far is to sautee them. It’s very simple yet tasty!

IMG_7735

Sauteed Green Beans

Serves: 2 as a side

Time: 20 minutes

Ingredients:

  • green beans– however many you expect to eat. About 2 cups is good for 2 people. Snap the ends off and wash them before you begin.
  • 1 Tbsp olive oil (I like to use flavor-infused olive oil to add interest. Lemon olive oil is one of my favorites)
  • bowl of ice water
  • salt and pepper

Directions:

1) Bring a pot of water to a boil. You need enough so that the green beans will be completely submerged. Add a pinch of salt.

2) Add the green beans to the boiling water and boil for about 2 minutes. The green beans will be bright green.

IMG_7730

3) Drain and immediately dump the green beans into the bowl of ice water. Let it sit while you heat up a tablespoon of olive oil in a nonstick skillet.

IMG_7734

4) When the olive oil is hot, drain the green beans again and dry off as best you can. Put the green beans in the skillet. Stir a bit as you sautee them. You want them hot and a bit crispy. This takes around 5 minutes.

5) Remove from heat and sprinkle with salt and pepper to taste. Enjoy!

Corn Fritters

This is the last post (for now!) in my Southern-inspired recipe series. The past month or so, I’ve been getting corn EVERY week in my CSA box. I love corn as much as anyone, but I can only eat so much boiled corn on the cob. SO—I’ve been experimenting!! These are corn fritters. Not so healthy perhaps, but interesting and different compared to how we usually eat corn here in the North. Not to mention they are delicious!

IMG_7406

Corn Fritters

adapted from Taste of the Lowcountry

Serves: 6-8 as a side or appetizer

Time: about 30 minutes total

Ingredients:

  • 3 ears corn, kernels cut off and cob scraped with the back of a knife to release its juices
  • 1 egg
  • 1/2 cup milk
  • 1/2 cup grits
  • 2 Tbsp baking powder
  • 2 Tbsp flour
  • 2 or 3 green onions, sliced
  • canola oil
  • salt

Directions:

1. Whisk together the egg and milk. Add grits, baking powder, and flour. Stir and then add corn, juice from the cobs, and green onions. Stir to combine.

IMG_7404

2. In a nonstick pan, pour oil just to cover the bottom. Put over medium heat until hot (shimmering, a pinch of flour sizzles when you drop it in). Use a tablespoon to pick up some batter and drop it into the oil. After a few minutes, flip the fritters. You want them to be golden brown on both sides. When they are done, carefully remove them from the pan and let them dry a bit on paper towels. Lightly sprinkle with salt. Enjoy!

IMG_7405

Warm Green Bean and Tomato “Salad”

This is another one of the recipes inspired by the cookbook I bought in Charleston. It was perfect because it allowed me to use several different veggies from my CSA! I changed the recipe around quite a bit to lighten it up. The cookbook calls it a warm salad, but I don’t really think of it as a salad…more like a veggie side dish. It was delicious!

IMG_7386

Warm Green Bean and Tomato “Salad”

Adapted from Taste of the Lowcountry

Serves: 4-6 as an appetizer

Time: about 10 minutes prep, 10 minutes to cook

Ingredients:

  • 1/2 lb. green beans, ends trimmed
  • 1 tbsp unsalted butter
  • 2 tbsp oil (canola or olive oil will work)
  • 1 onion, diced
  • 1/4 cup white wine vinegar
  • splash of sherry, if you have it
  • 1/2 pint grape tomatoes, cut in half
  • 3 small tomatoes (or maybe 2 medium), roughly chopped and seeds mostly squeezed out and discarded
  • 2 cloves garlic, minced
  • 1 tbsp sugar
  • salt & pepper

Directions:

1) Blanch the green beans: Fill a mixing bowl with water and ice, and set aside. Bring a pot of water to boil. Make sure there’s enough water to cover your green beans. Put the green beans in and boil them for about 2 minutes. Then drain the green beans and put them in the bowl of ice water. Drain.

IMG_7383

2) Put the butter and the oil in a large saute pan over medium heat. After the butter has melted, add the onion and cook until translucent, about 5 minutes.

IMG_7382

3) Add the green beans, vinegar, sherry, all the tomatoes, garlic, and sugar to the pan. Cook for about 5 more minutes. Season with plenty of salt and pepper and serve.

IMG_7384

Fried Green Tomatoes

This is the first in a series of several Southern-inspired posts that I’m planning. On my trip to South Carolina I picked up a couple of cute little cookbooks that I’m excited to experiment with! And it works out perfectly because a lot of the recipes call for fresh fruits and veggies, which we all know I have plenty of!

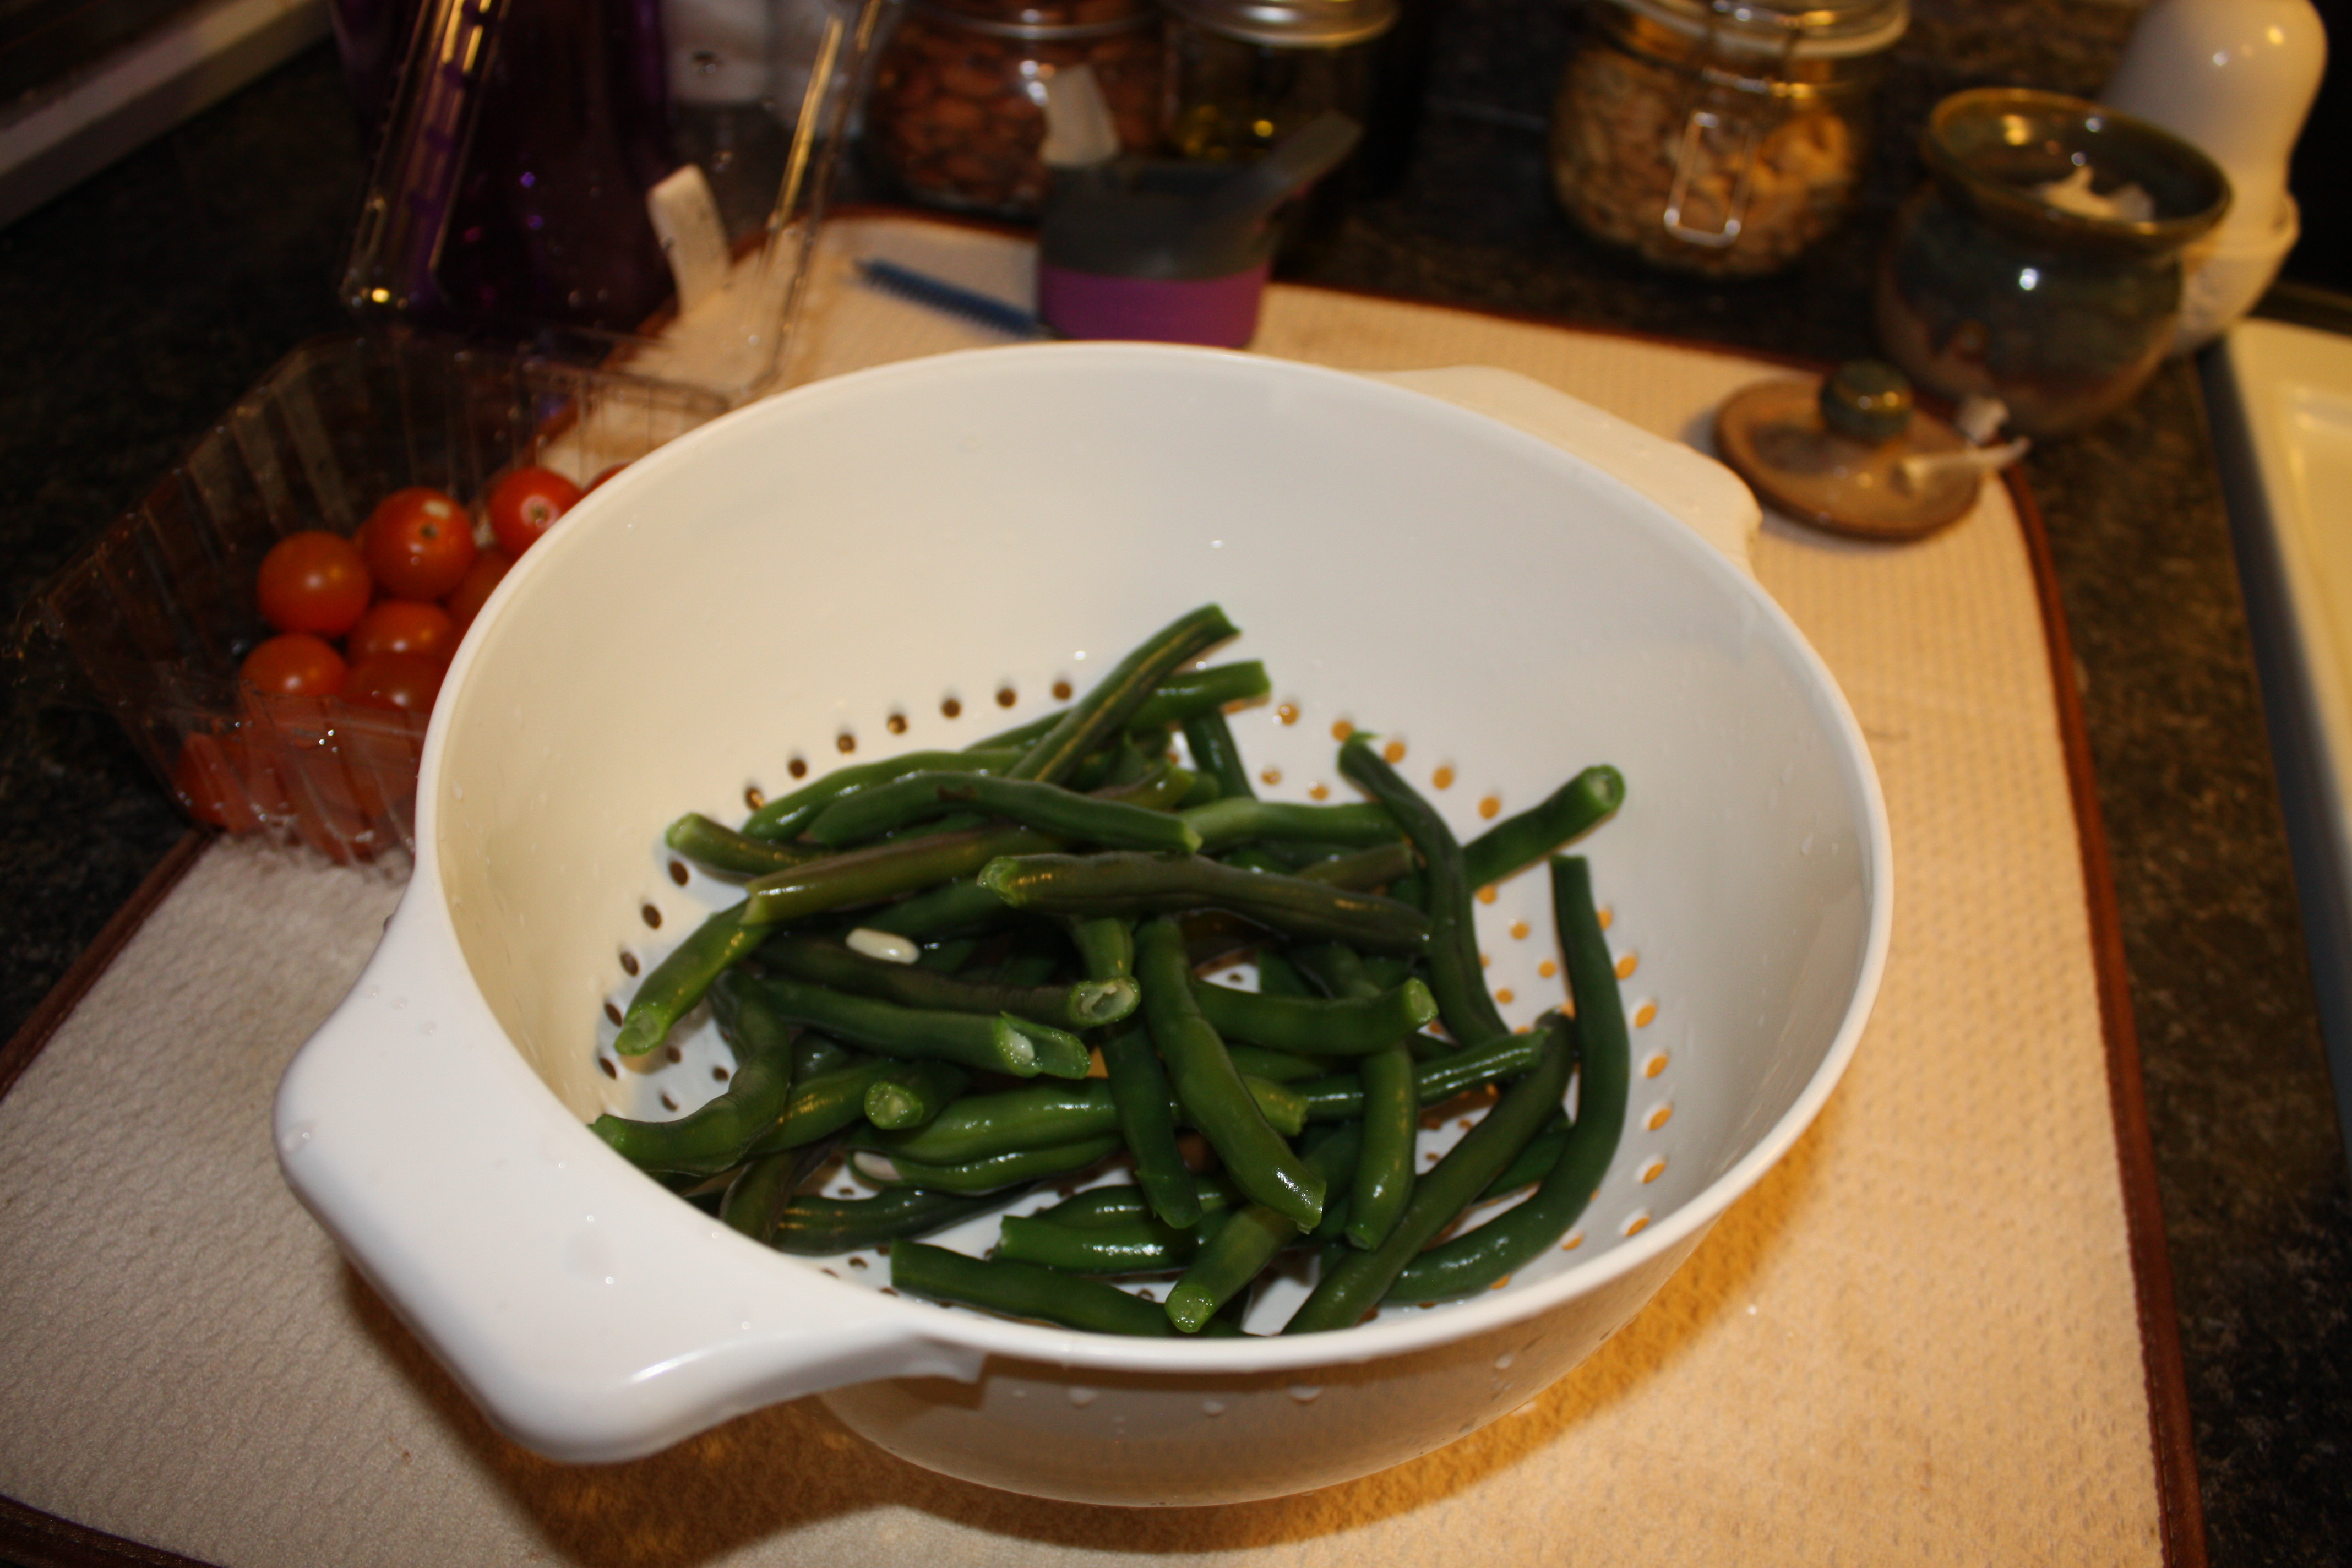
Fried Green Tomatoes, besides being a movie that seriously freaked me out as a kid (I mostly remember the boy who got his arm cut off by a train…and then didn’t they bury it? Weird!), are a classic Southern appetizer. I don’t think I’ve ever seen it on a menu up here in the northern part of the country. We ate it on vacation at Hyman’s in Charleston, and then I found a recipe for them in my new mini-cookbook! Green tomatoes are not usually sold in grocery stores, but my uncle and my grandma both had some in their gardens that they were happy to give me. For this recipe, I didn’t have quite enough green tomatoes, so I tried using a few slices of more red tomatoes. Let’s just say that I know now why you’re supposed to use the green ones! Being unripe, the green tomatoes are much firmer and less juicy. They got crispy after being fried, unlike the red ones which became a little soft and mushy. If you want to try this recipe, ask around for someone who might grow tomatoes…you should be able to find a couple unripe green ones. You want them to be nice and firm. You can also try using any kind of firm tomato, but the unripe green ones will definitely work the best!

IMG_7375

Fried Green Tomatoes

Adapted from Taste of the Lowcountry

Serves: 3-4 people for a side dish/appetizer

Time: about 15-20 minutes

Ingredients:

  • canola oil
  • 1/2 cup flour
  • salt & pepper
  • 2 eggs
  • 2 Tbsp milk
  • 1/2 cup breadcrumbs (I used Italian-style because that’s all I had. Plain would be fine too.)
  • 1/2 cup cornmeal
  • 1 1/2 Tbsp Cajun seasoning
  • about 4 or 5 small to medium tomatoes…or 3 large ones, sliced about 1/4 in. thick

Directions:

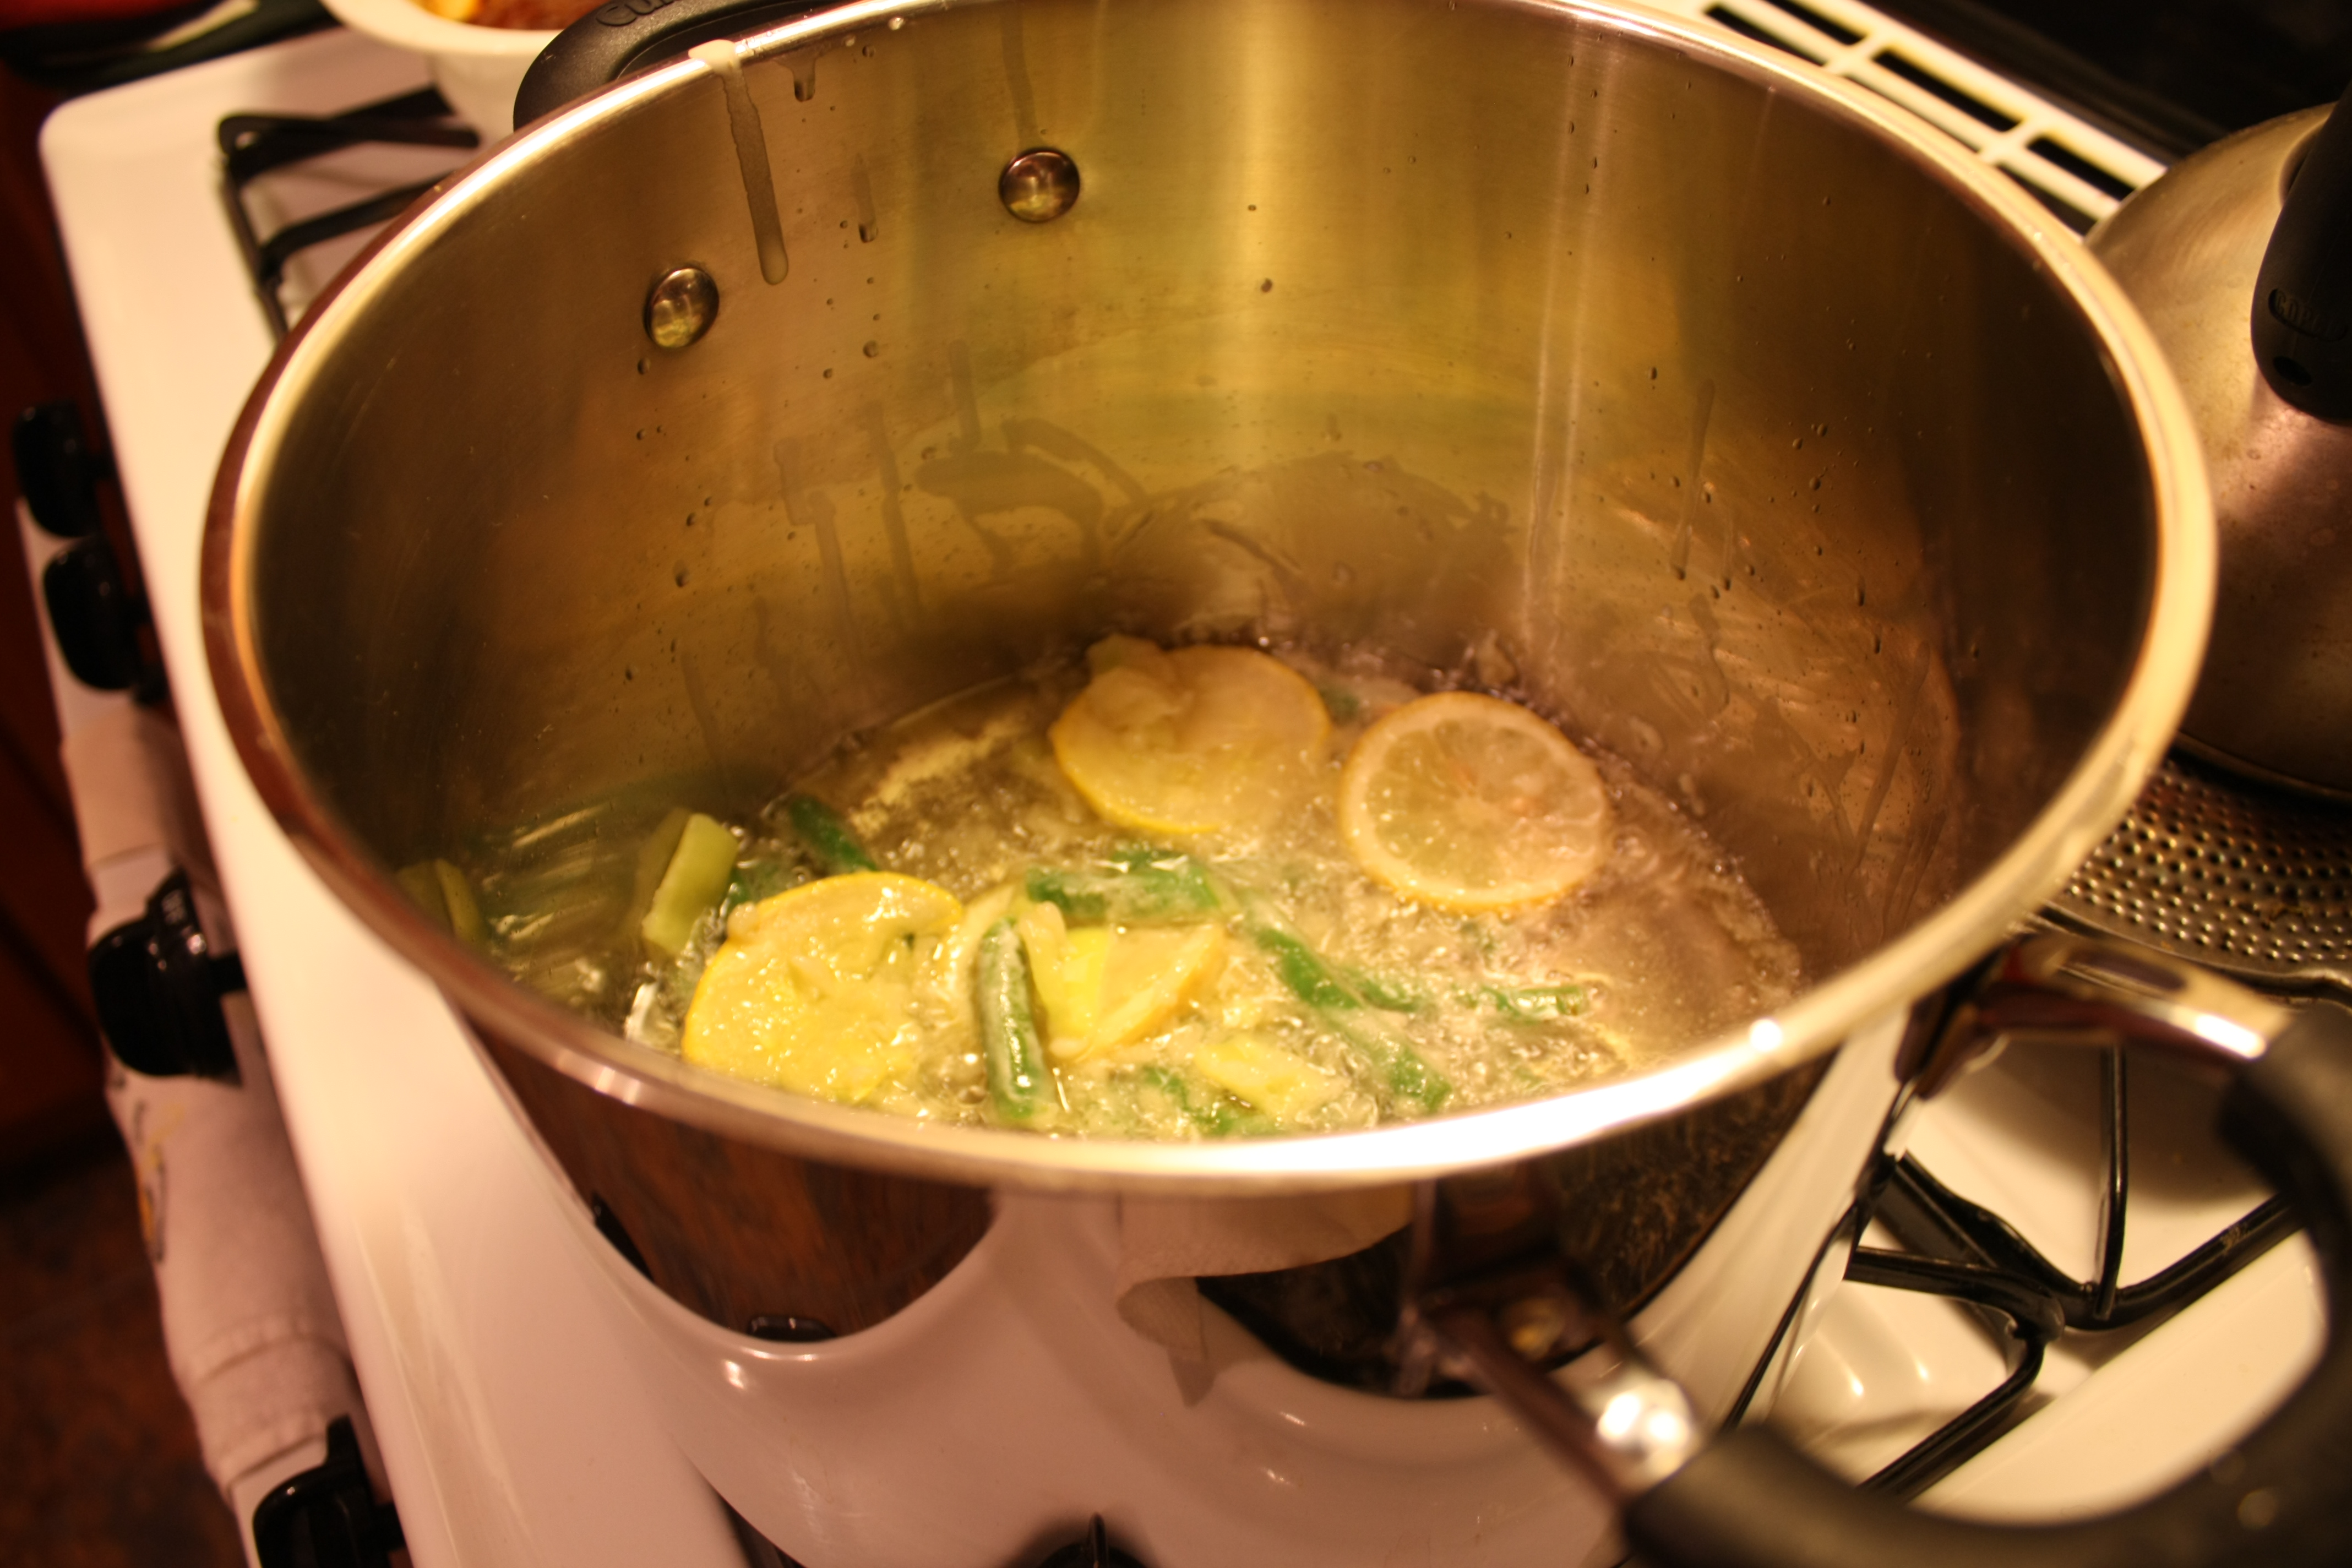
1) Pour canola oil into a large shallow saucepan. I only filled up my pan about a 1/2 inch or less (as opposed to the traditional way which is 2 inches). You definitely want the entire bottom of the pan covered plus a bit more. But it’s okay if the tomatoes aren’t totally submerged while frying. Heat the oil up to around 350 degrees. I don’t use a thermometer…I just test to see if the oil is hot enough by dropping a little flour into it and making sure that it starts sizzling.

2) Put the flour in a shallow bowl or plate and season with some salt and pepper.

3) Whisk together the eggs and milk in another shallow bowl.

4) In a third shallow bowl or plate, combine the breadcrumbs, cornmeal, and seasoning.

5) Set up the dishes so that you have the flour, then the eggs, then the breadcrumb mixture lined up in that order. Take each slice of tomato and dip it first in the flour, shaking off any extra, then dip it into the eggs (again letting any extra drip off), and finally the breadcrumb mixture. Try to make sure the breadcrumb mixture totally covers the tomato slice.

IMG_7368

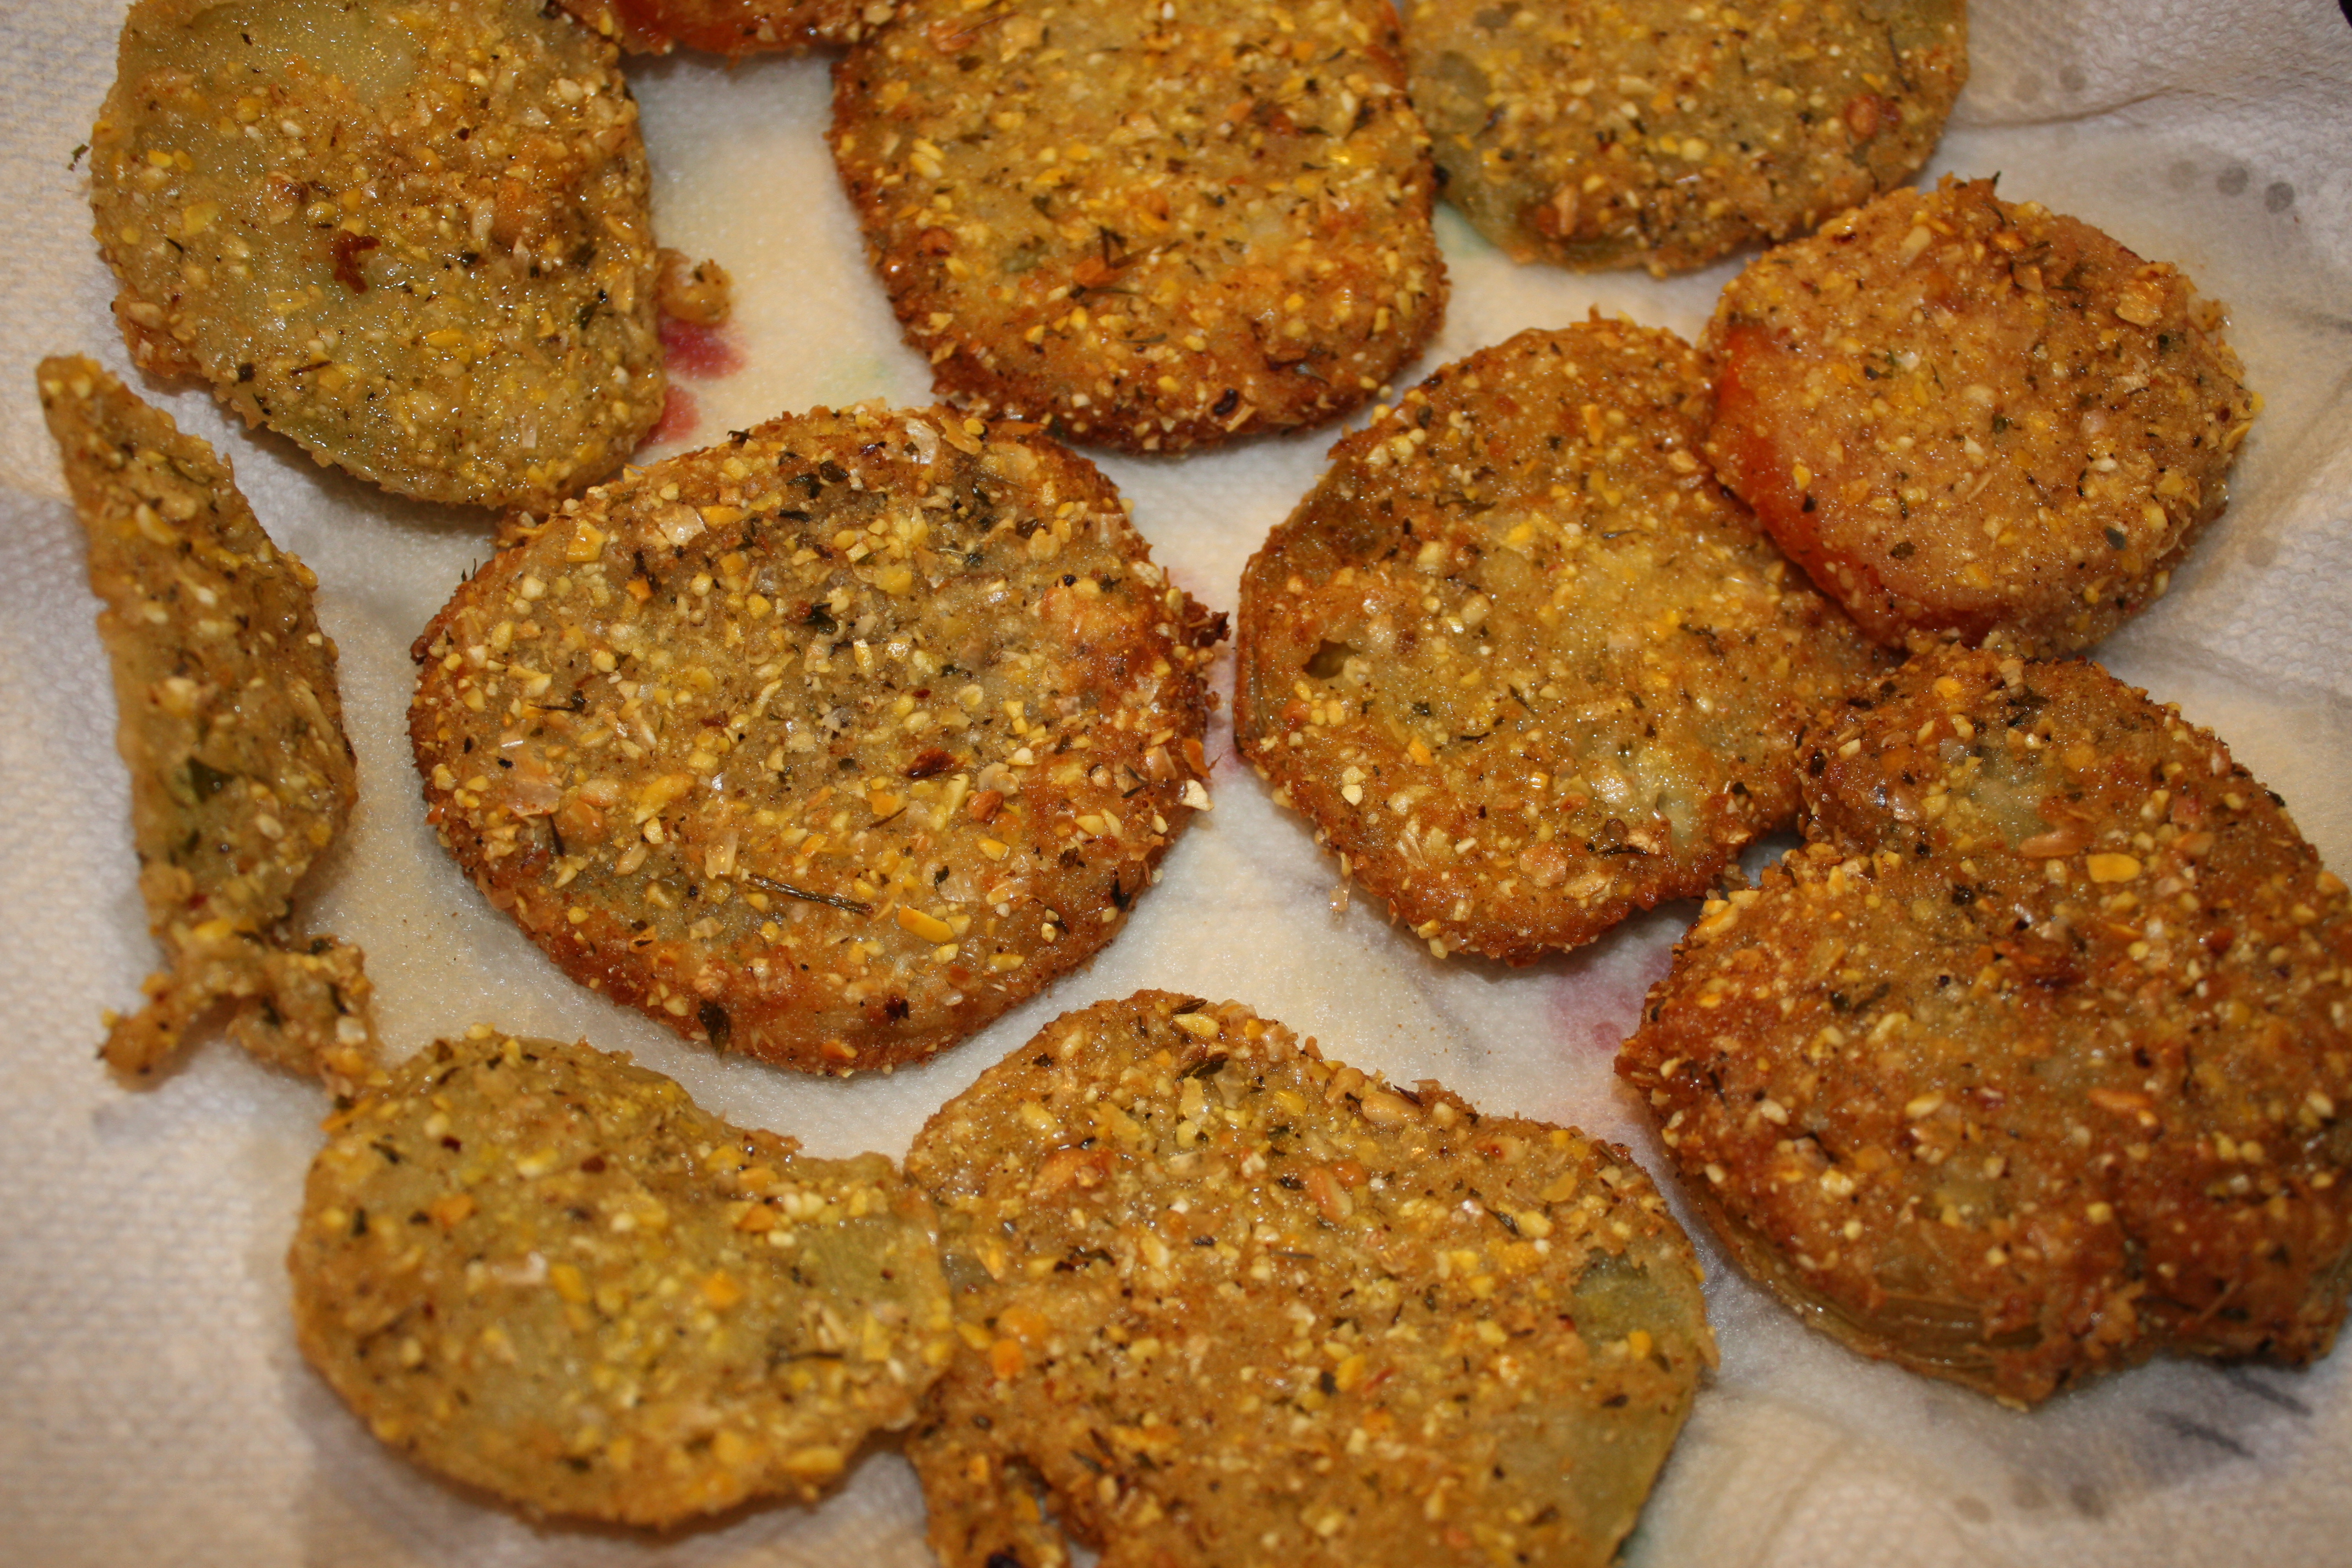
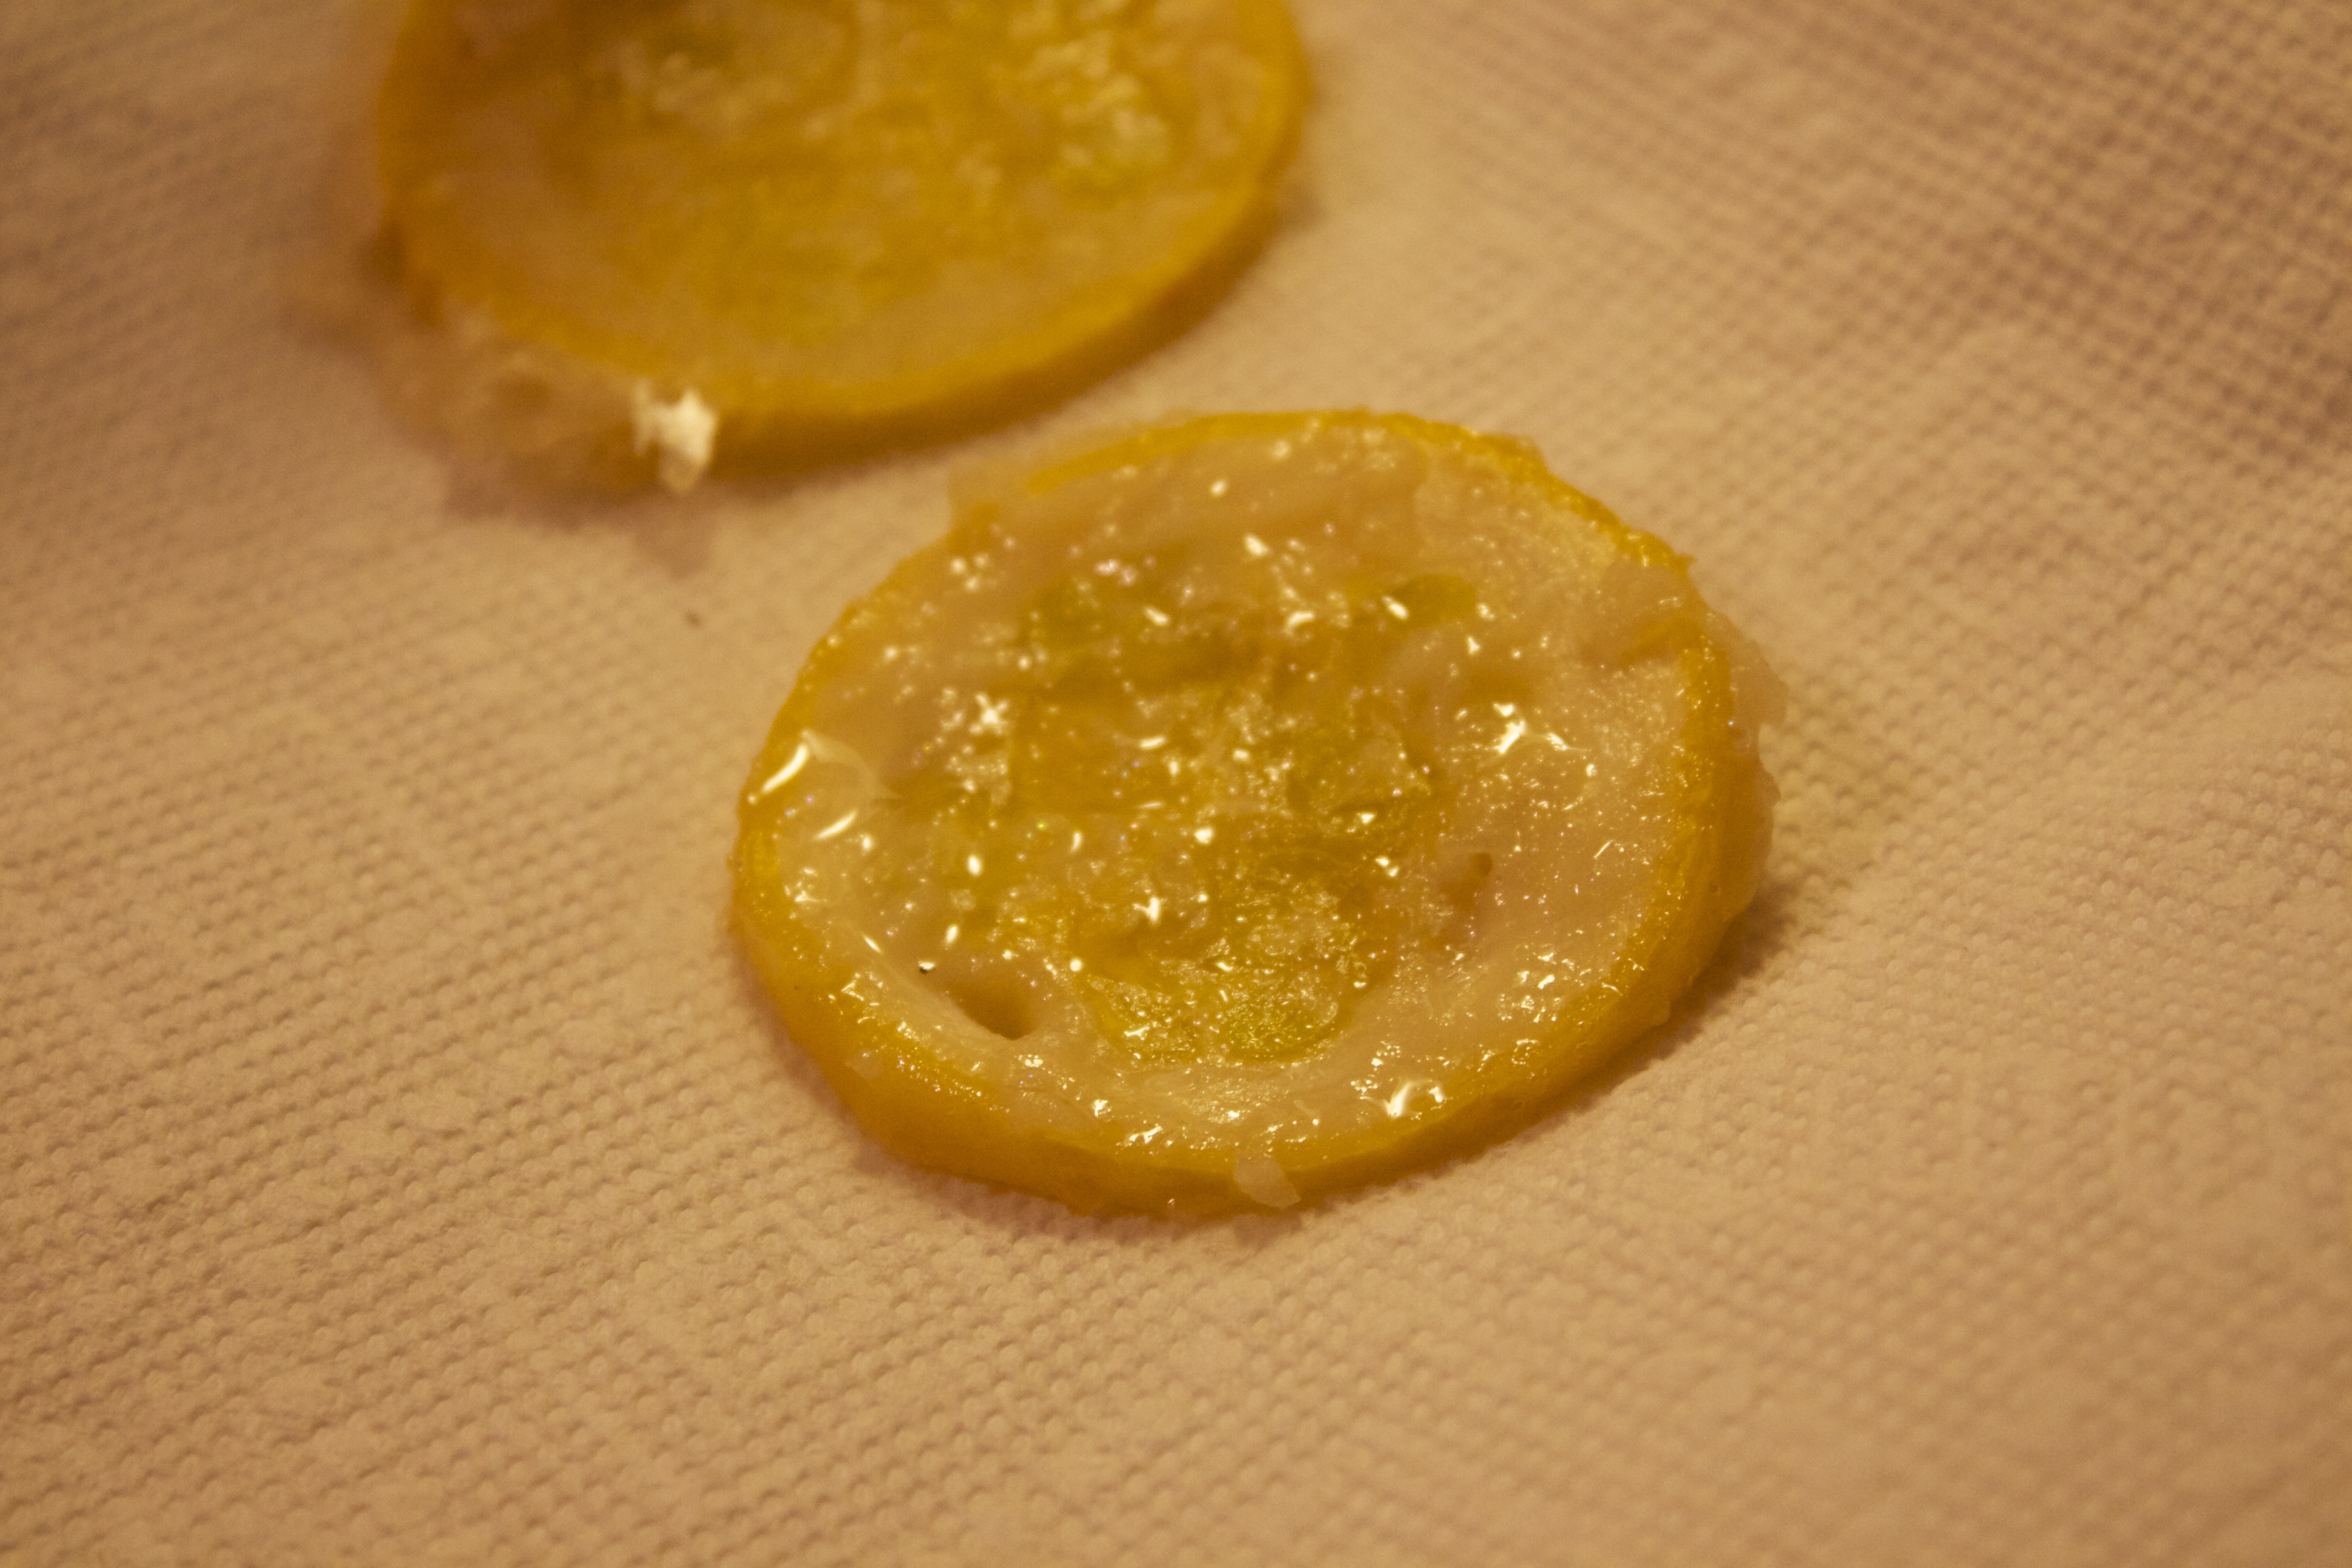
6) Carefully put the tomato slices into the hot oil. After about 5 minutes, when one side is golden brown, flip them over. When the other side is golden brown, remove them from the pan. Dry them on a plate that has been lined with a paper towel. Sprinkle with a little extra salt if desired.

IMG_7371

just before flipping

Note: These taste great on their own…or you can try dipping them into ketchup, pepper jelly, hot sauce…anything really! I tried some with my peach & sriracha jam which was delicious!

IMG_7372

Peach and Gorgonzola Salad

California Pizza Kitchen has an amazing salad with grilled peaches, gorgonzola, and pecans. I decided to try my own version at home and it came out great! I left out the pecans and sautéed the peaches instead of grilling them. The restaurant uses a white balsamic vinaigrette, but I used a little regular balsamic vinegar and it worked just fine. You can try any dressing you like. To keep calories low I just use the vinegar.

Peach and Gorgonzola salad
Yield: 1 salad
2 cups salad greens (I like lettuce and arugula)
1 small peach or half a big one, sliced
1 Tbsp crumbled Gorgonzola cheese
1 Tbsp dried cranberries
1-2 Tbsp balsamic vinegar or any dressing you like
Optional- thinly sliced red onion, tomato wedges

Sauté the peach slices in a nonstick pan that has been coated with spray or a bit of oil. Cook until peach is warm and a bit soft.

Combine all the ingredients except the vinegar or dressing in a bowl. Toss to combine. Top with vinegar or dressing and enjoy!

IMG_2513.JPG

The Most Unhealthy Way I Have Ever Cooked Veggies!

On Monday I was watching the Food Network (Ten Dollar Dinners) and I saw something that I thought would be great for finishing up some of my CSA veggies! I served it with some eggplant rollatini and it was pretty delicious. However, it is also definitely the most unhealthy way I have ever cooked veggies! (Thus the title of this post!) Yes….they were fried!!! I didn’t use quite as much oil as the recipe called for, so my veggies were definitely not deep fried. And the coating on the veggies is very light, so I don’t think it was TOO unhealthy! 😉

IMG_6780

Fritto Misto

adapted from Melissa d’Arabian

Time: about 15 minutes total

Yield: 2 servings

Ingredients:

  • vegetable or canola oil for frying
  • 1/4 cup plus 2 Tbsp flour
  • 2 Tbsp cornstarch
  • pinch of salt, plus more to taste
  • pinch of pepper (or a twist of freshly ground pepper)
  • 1/2 cup seltzer or sparkling water
  • 2-3 oz green beans
  • 1 small zucchini, sliced into thin rounds
  • 1/4-1/2 of a pepper, optional (I used a Hungarian hot pepper from my CSA box)
  • 1/2 lemon, very thinly sliced

Directions:

1) Pour the oil into a large, wide pot to fill it a few inches. You can do more if you want the veggies to be more completely submerged. I was trying not to use too much oil, so I just did a couple inches’ worth and it worked fine. Heat it up until it’s hot enough that when you drop a pinch of flour in, you can see it bubbling and hear it start to cook.

2) Mix the flour, cornstarch, salt, and pepper in a large bowl. Whisk in the water. Add the veggies (you can do this in batches if you want) and coat them well in the batter. The batter will be thin and runny.

IMG_6762

3) Fry the veggies: Carefully (I used a slotted spoon) drop the veggies into the oil. Fry them until they are golden brown. This may take anywhere from 3-5 minutes. I did these in batches since my pot wasn’t quite big enough.

IMG_6770

4) Drain on a plate that has been covered in a layer of paper towels. Sprinkle with additional salt if desired. Serve hot.

IMG_6769

Clean-out-the-produce-drawer Pasta

Since joining the CSA, my produce drawer has always been very full! I am grateful for it, but I also worry about using everything up. Last Monday I decided to throw a bunch of veggies into a pasta dish and see what happened. It came out great!! Here’s what I did:

Clean-out-the-produce-drawer pasta

Ingredients:

  • 1/2 a box of pasta, any kind (a short pasta like penne is probably better than something like spaghetti)
  • pesto sauce (I used my garlic scape pesto, but you could use any kind, or even red sauce!)
  • assorted veggies, such as corn, zucchini, green beans, kale…
  • grated Parmesan, if desired

Directions:

1) Start cooking your pasta. Steam your veggies. Put things like zucchini in the steamer before other things like corn.

IMG_6967

This is when I added the kale!

This is when I added the kale!

2) Drain pasta and check veggies. When they are tender, toss them with the pasta.

3) Add some pesto and toss. You can add as much or as little sauce as you want.

4) Sprinkle with Parmesan if you like!

IMG_6969

Kale Chips!

Kale chips are my favorite way to make kale. Andrew also LOVES them! This is my kale chip strategy. (Not really a full recipe, sorry!) It’s really easy, fun, and delicious. The kale gets so crispy and amazing!

Ingredients

  • fresh kale
  • salt & pepper
  • olive oil spray
  • garlic powder (optional)
  • chili powder (optional)

Directions:

1) Preheat the oven to 350 degrees. Rip up the kale leaves into pieces. I like to make them into pieces about the size of a cracker, or a little larger. The bigger pieces are easier to pick up and eat.

2) Spray a cookie sheet with olive oil spray, or put a SilPat or parchment paper down. Place the kale in a single layer on the cookie sheet.

image

3) Spray the kale with the olive oil spray. Sprinkle salt and pepper over all the kale. Then sprinkle with garlic powder and chili powder, if you like a little spice. I like to hold the spice jars high above the cookie sheet as I sprinkle so I make sure that all the kale are lightly covered, instead of dumping a bunch of garlic on one piece!

image

4) Bake at 350 for 10 minutes. Check the kale. You want the edges to be starting to brown, but just barely. You can leave the kale in the oven for a few more minutes if needed, but be careful because they will cross the line into burned rather quickly.

image

Garlic Scape Pesto

After a week + a few days of being away in Cape Cod, and last week having my first week of teaching summer school, plus my dear cousin’s wedding this past weekend, I’m finally ready to get back into blogging! I’m so excited to be back!

Twice now, I’ve gotten garlic scapes in my CSA boxes. At first I really wasn’t sure what to do with them. Then I heard that they are great in pesto! Since I love pesto, I was pretty excited to try it. This is the second garlic scape pesto recipe that I’ve tried, and it’s my favorite so far. The basil really brightens it up. That being said, it’s still pretty garlicky! If you don’t love garlic, you could try putting this pesto on some chicken and then backing it. That way the garlic would get cooked with the chicken. I’ve been eating this stirred into hot pasta, which is delicious too!

image

Garlic Scape Pesto

Yield: a little less than a cup (as you can see below, I put it into 2 quarter pint jars, plus a small Weck jar)

Time: Including prep…probably 10 minutes!

imageIngredients:

  • 1 cup chopped garlic scapes (about 1 bunch)
  • 1 cup basil leaves (packed)
  • 3/4 cup grated parmesan cheese
  • 1/2 – 2/3 cup olive oil
  • salt and pepper to taste

Directions:

1) Put the garlic scapes, basil, cheese, salt, and pepper in the bowl of a food processor.

image

2) Process until smooth.

image

3) While pulsing, slowly pour in the olive oil. You can use a little more or a little less olive oil to make a sauce that’s a consistency you like.

image

Store in a jar for a week or 2 in the fridge, or store in the freezer.


Using up veggies from my CSA boxes!

One of the things that made me a little nervous about signing up for the CSA was whether I would be able to find a way to use all the veggies that I knew I’d be getting. When I was a kid, I hated vegetables, but I’ve become a big fan of them over the years. I especially love roasted veggies. However, many of the vegetables I’ve gotten in my boxes are not the types that roasting works for…like swiss chard. So here are a couple things I’ve done with the veggies from my boxes!

Swiss Chard

IMG_6709

The chard I got from the CSA was actually rainbow chard. It was beautiful, but I had never cooked chard before! After some online research, I decided to sautee it. I actually used quite a bit of crushed red pepper, so this came out a little too spicy for me (but Andrew loved it!)

I cut the stalks off...love the colors!

I cut the stalks off…love the colors!

IMG_6711

I sauteed the stalks first, with some olive oil, crushed red pepper flakes, salt and pepper. After a few minutes I added the greens!

Almost ready!

Almost ready!

Beet Greens

IMG_6830

I got 3 beets that included a nice amount of beet greens. I had never cooked beet greens before, but I sauteed these too, and they were great!

IMG_6832

They cooked down quite a bit!

Sugar Snap Peas

I was so excited when I heard I was getting these…I found tons of recipes for them, but since I ended up going away for the weekend, I ended up just quickly sautéing these as well. I just did olive oil, salt, and pepper. They got so crispy and tasted amazing! I served these with chickem and some pasta with pesto sauce. The pesto is garlic scape and arugula pesto, which was another great use for some of my CSA produce.

IMG_6836


I have really enjoyed experimenting with the veggies I’ve been getting in my boxes! It’s been a great way to make sure that I’m eating a vegetable at every meal. Thanks for visiting!