Garlic Scape Pesto

After a week + a few days of being away in Cape Cod, and last week having my first week of teaching summer school, plus my dear cousin’s wedding this past weekend, I’m finally ready to get back into blogging! I’m so excited to be back!

Twice now, I’ve gotten garlic scapes in my CSA boxes. At first I really wasn’t sure what to do with them. Then I heard that they are great in pesto! Since I love pesto, I was pretty excited to try it. This is the second garlic scape pesto recipe that I’ve tried, and it’s my favorite so far. The basil really brightens it up. That being said, it’s still pretty garlicky! If you don’t love garlic, you could try putting this pesto on some chicken and then backing it. That way the garlic would get cooked with the chicken. I’ve been eating this stirred into hot pasta, which is delicious too!

image

Garlic Scape Pesto

Yield: a little less than a cup (as you can see below, I put it into 2 quarter pint jars, plus a small Weck jar)

Time: Including prep…probably 10 minutes!

imageIngredients:

  • 1 cup chopped garlic scapes (about 1 bunch)
  • 1 cup basil leaves (packed)
  • 3/4 cup grated parmesan cheese
  • 1/2 – 2/3 cup olive oil
  • salt and pepper to taste

Directions:

1) Put the garlic scapes, basil, cheese, salt, and pepper in the bowl of a food processor.

image

2) Process until smooth.

image

3) While pulsing, slowly pour in the olive oil. You can use a little more or a little less olive oil to make a sauce that’s a consistency you like.

image

Store in a jar for a week or 2 in the fridge, or store in the freezer.


Making Jam!

During the summer of 2012, I was visiting my grandma (Memaw) in North Carolina. I was reading an issue of Southern Living, and there was an article about canning. I decided I wanted to learn how to can, so my grandma and I made some strawberry jam together. It seemed like an intimidating process, but it was really fun and I was hooked! When I got home to New Jersey, I started doing a lot of research and reading about canning. My grandma had given me a large pot that I could use for processing the jars, and I had a set of canning tools that only cost about $10. The rest of that summer and fall, I canned several batches of jam, salsa, and fruit butters. I discovered a great canning blog, bought a couple books, and I haven’t looked back!

Jam is one of my favorite things to can. It requires only a few ingredients and it’s easy to make. On Wednesday I made Cherry-Plum jam from Marisa McClellan’s excellent book Food in Jars. I cut the recipe in half and ended up with about 3 1/2 half pint jars of jam. If you don’t want to do the water bath canning process, you can make this and freeze it instead. It tastes amazing!! If you’d like to process the jars to be shelf stable, here’s a link to detailed directions on the Ball jar website. Lately, for these smaller batches, I haven’t even bothered pulling out my canning pot. I’ve just been using my 12-quart stockpot. As long as your pot is tall enough for your jars plus 1 inch of water above the jars, you’ll be fine with a regular pot. I bought a silicone trivet to put in the bottom of the pot to protect the jars while they’re boiling. This is also the purpose of a canning rack, like in this kit or this metal rack. As long as you have something at the bottom of your pot, it will be fine.

IMG_6859

Cherry-Plum Jam

Makes almost 4 half pints… this is the recipe as I made it, which is a half batch of the recipe as it is written in the book.

Ingredients:

  • 1 1/2 cups pitted and chopped plums (this will be about 1 1/2 lbs)
  • 2 cups pitted and chopped sweet cherries (this was a little less than a pound of cherries) (I use a paper clip to pit the cherries)
  • 1 3/4 cups granulated sugar
  • zest and juice of half a lemon
  • 1 packet of liquid pectin

Directions:

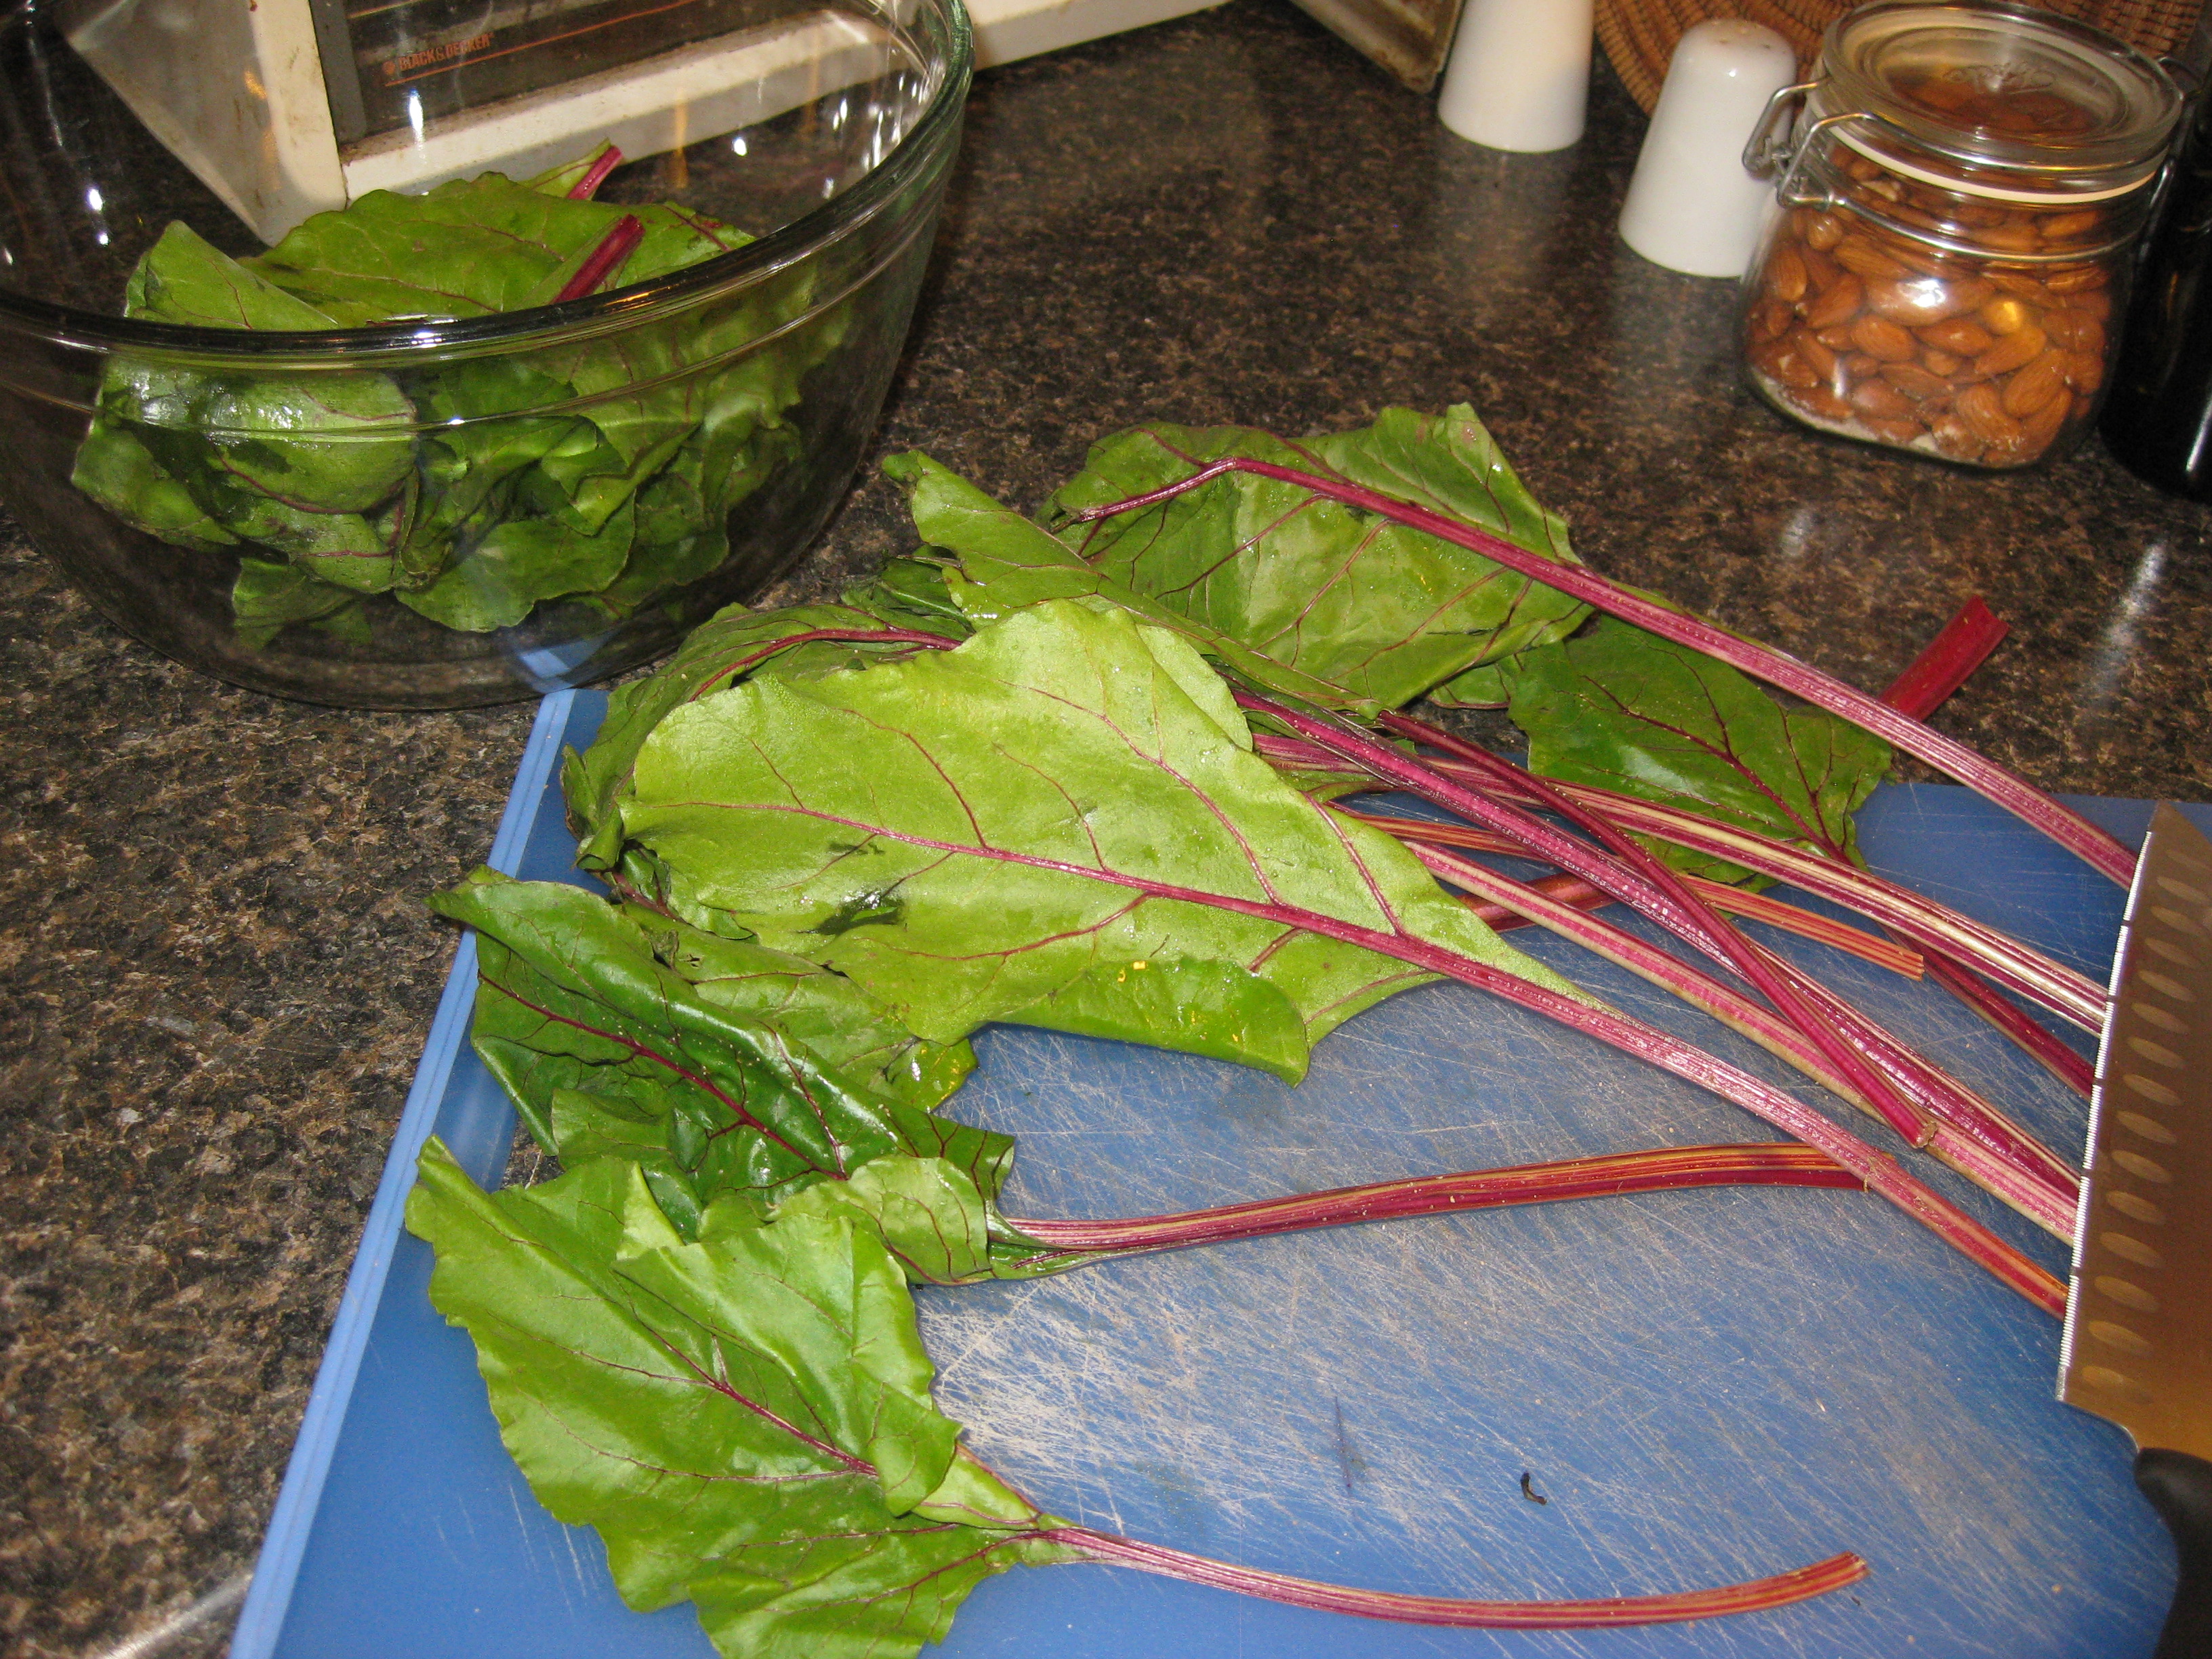
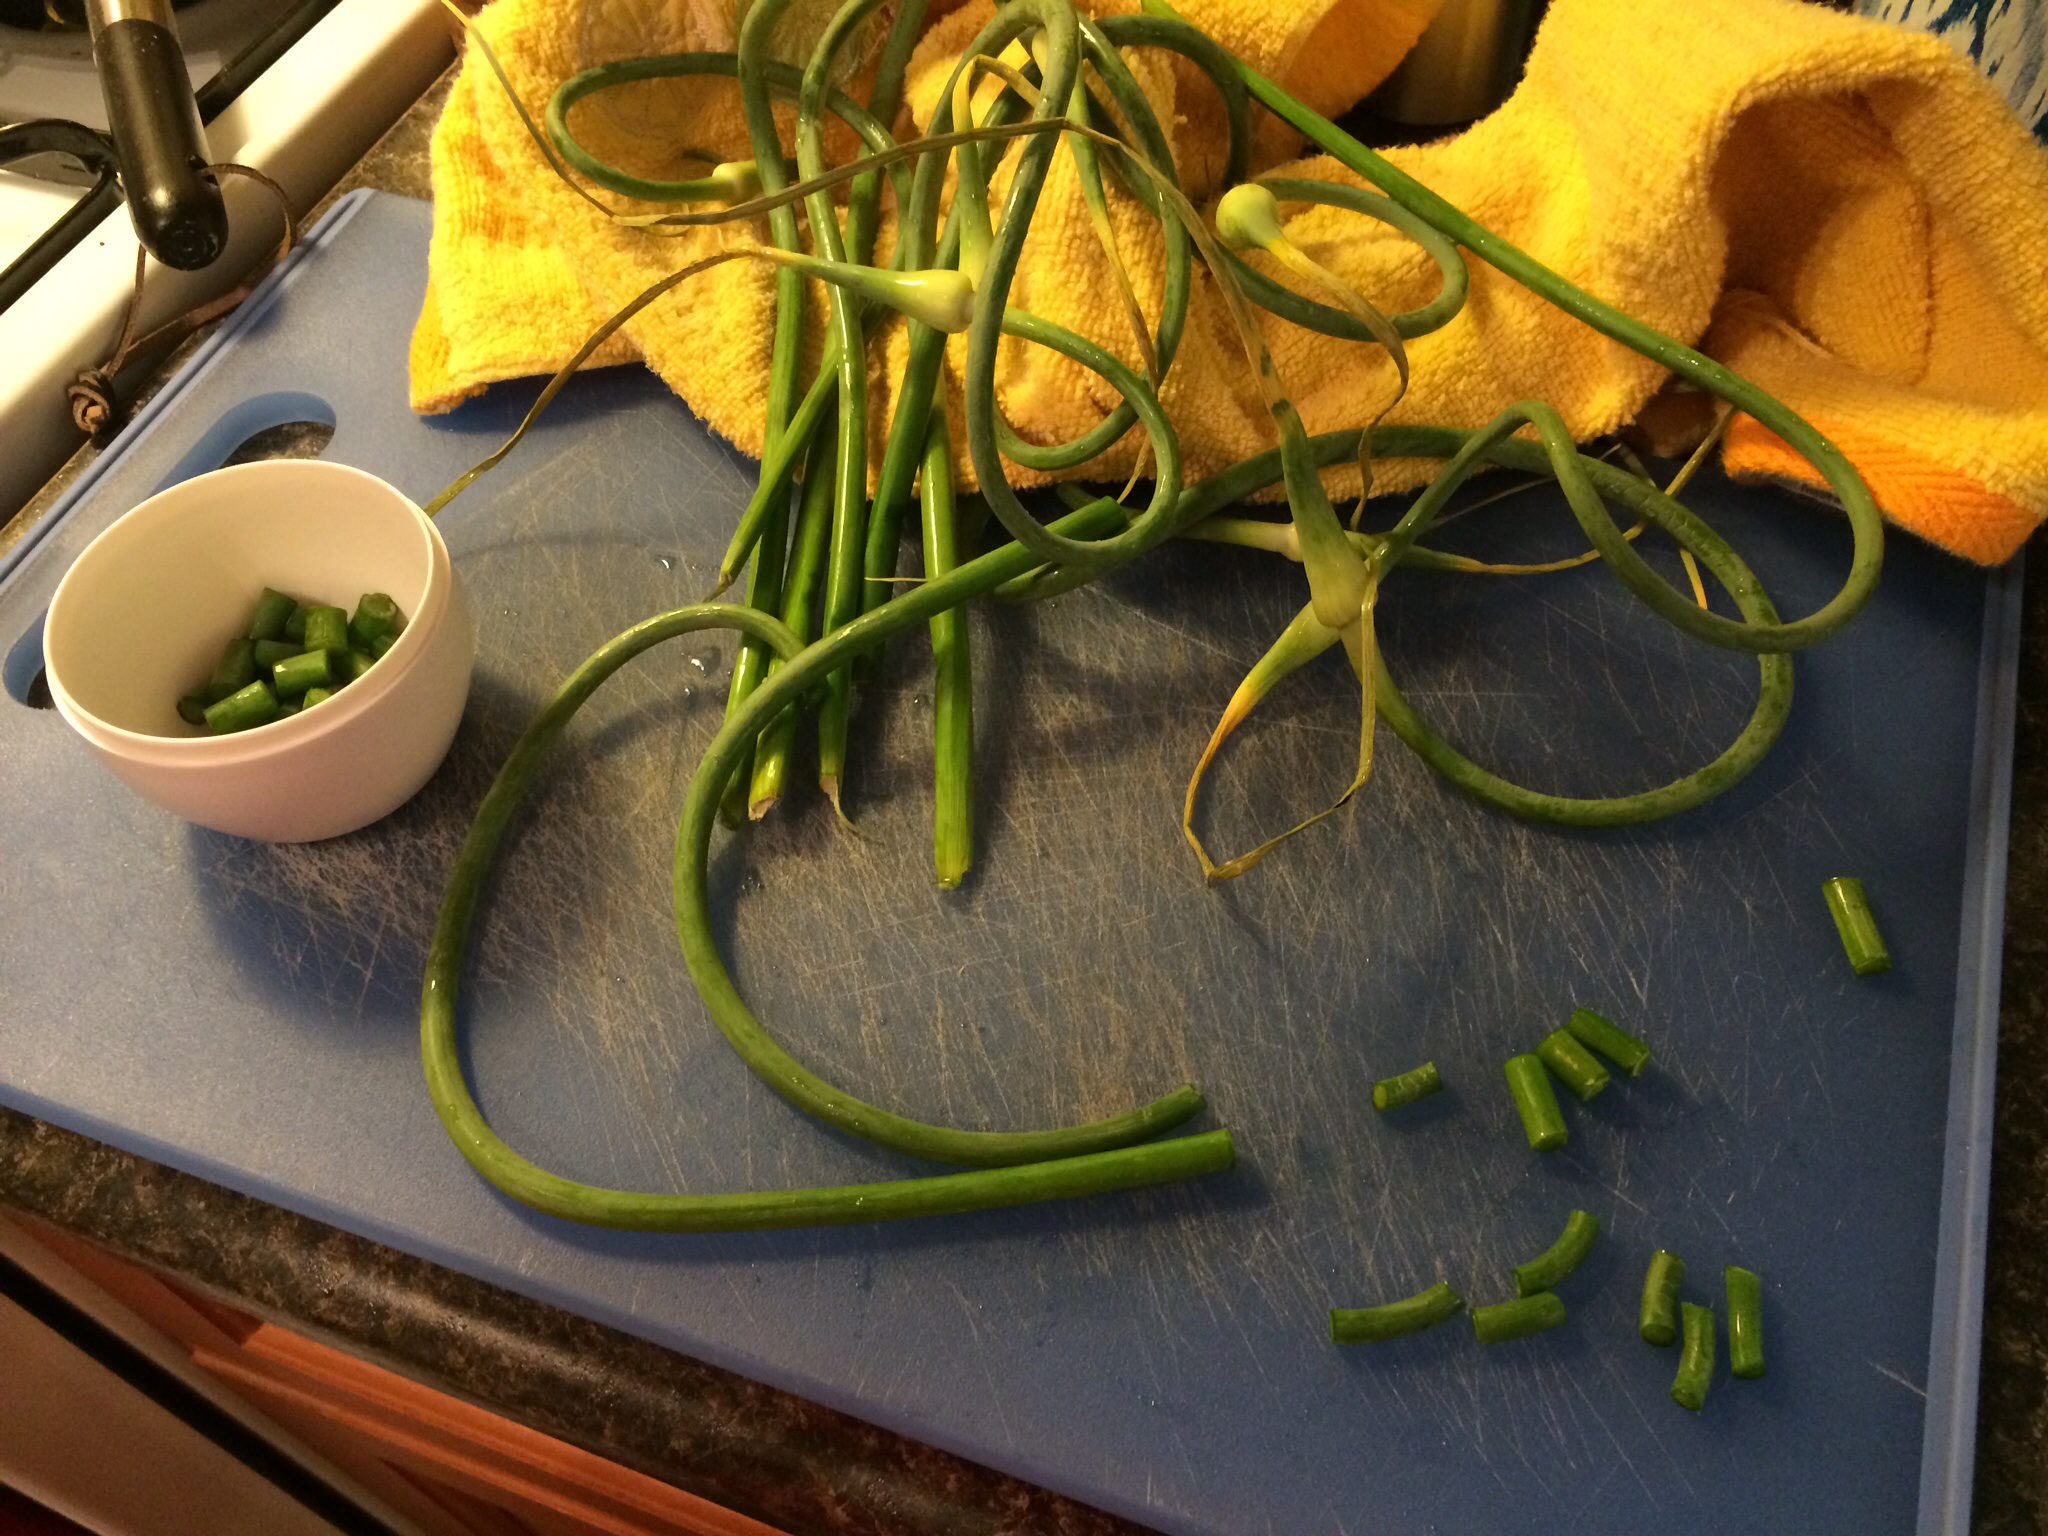
1) Chop all the fruit and get out your tools 🙂

IMG_6851

2) Wash and dry your jars, lids, and rings. Put the jars and rings in your large stockpot or canning pot. Cover completely with water. Start heating this on high on the stove; it needs to boil by the time you are ready to take the jars out to be filled. Put the canning lids in a small saucepan, cover completely with water, and put it over low heat. You want these to just barely simmer, which is what’s recommended by the Ball jar company to help them seal.

IMG_6853

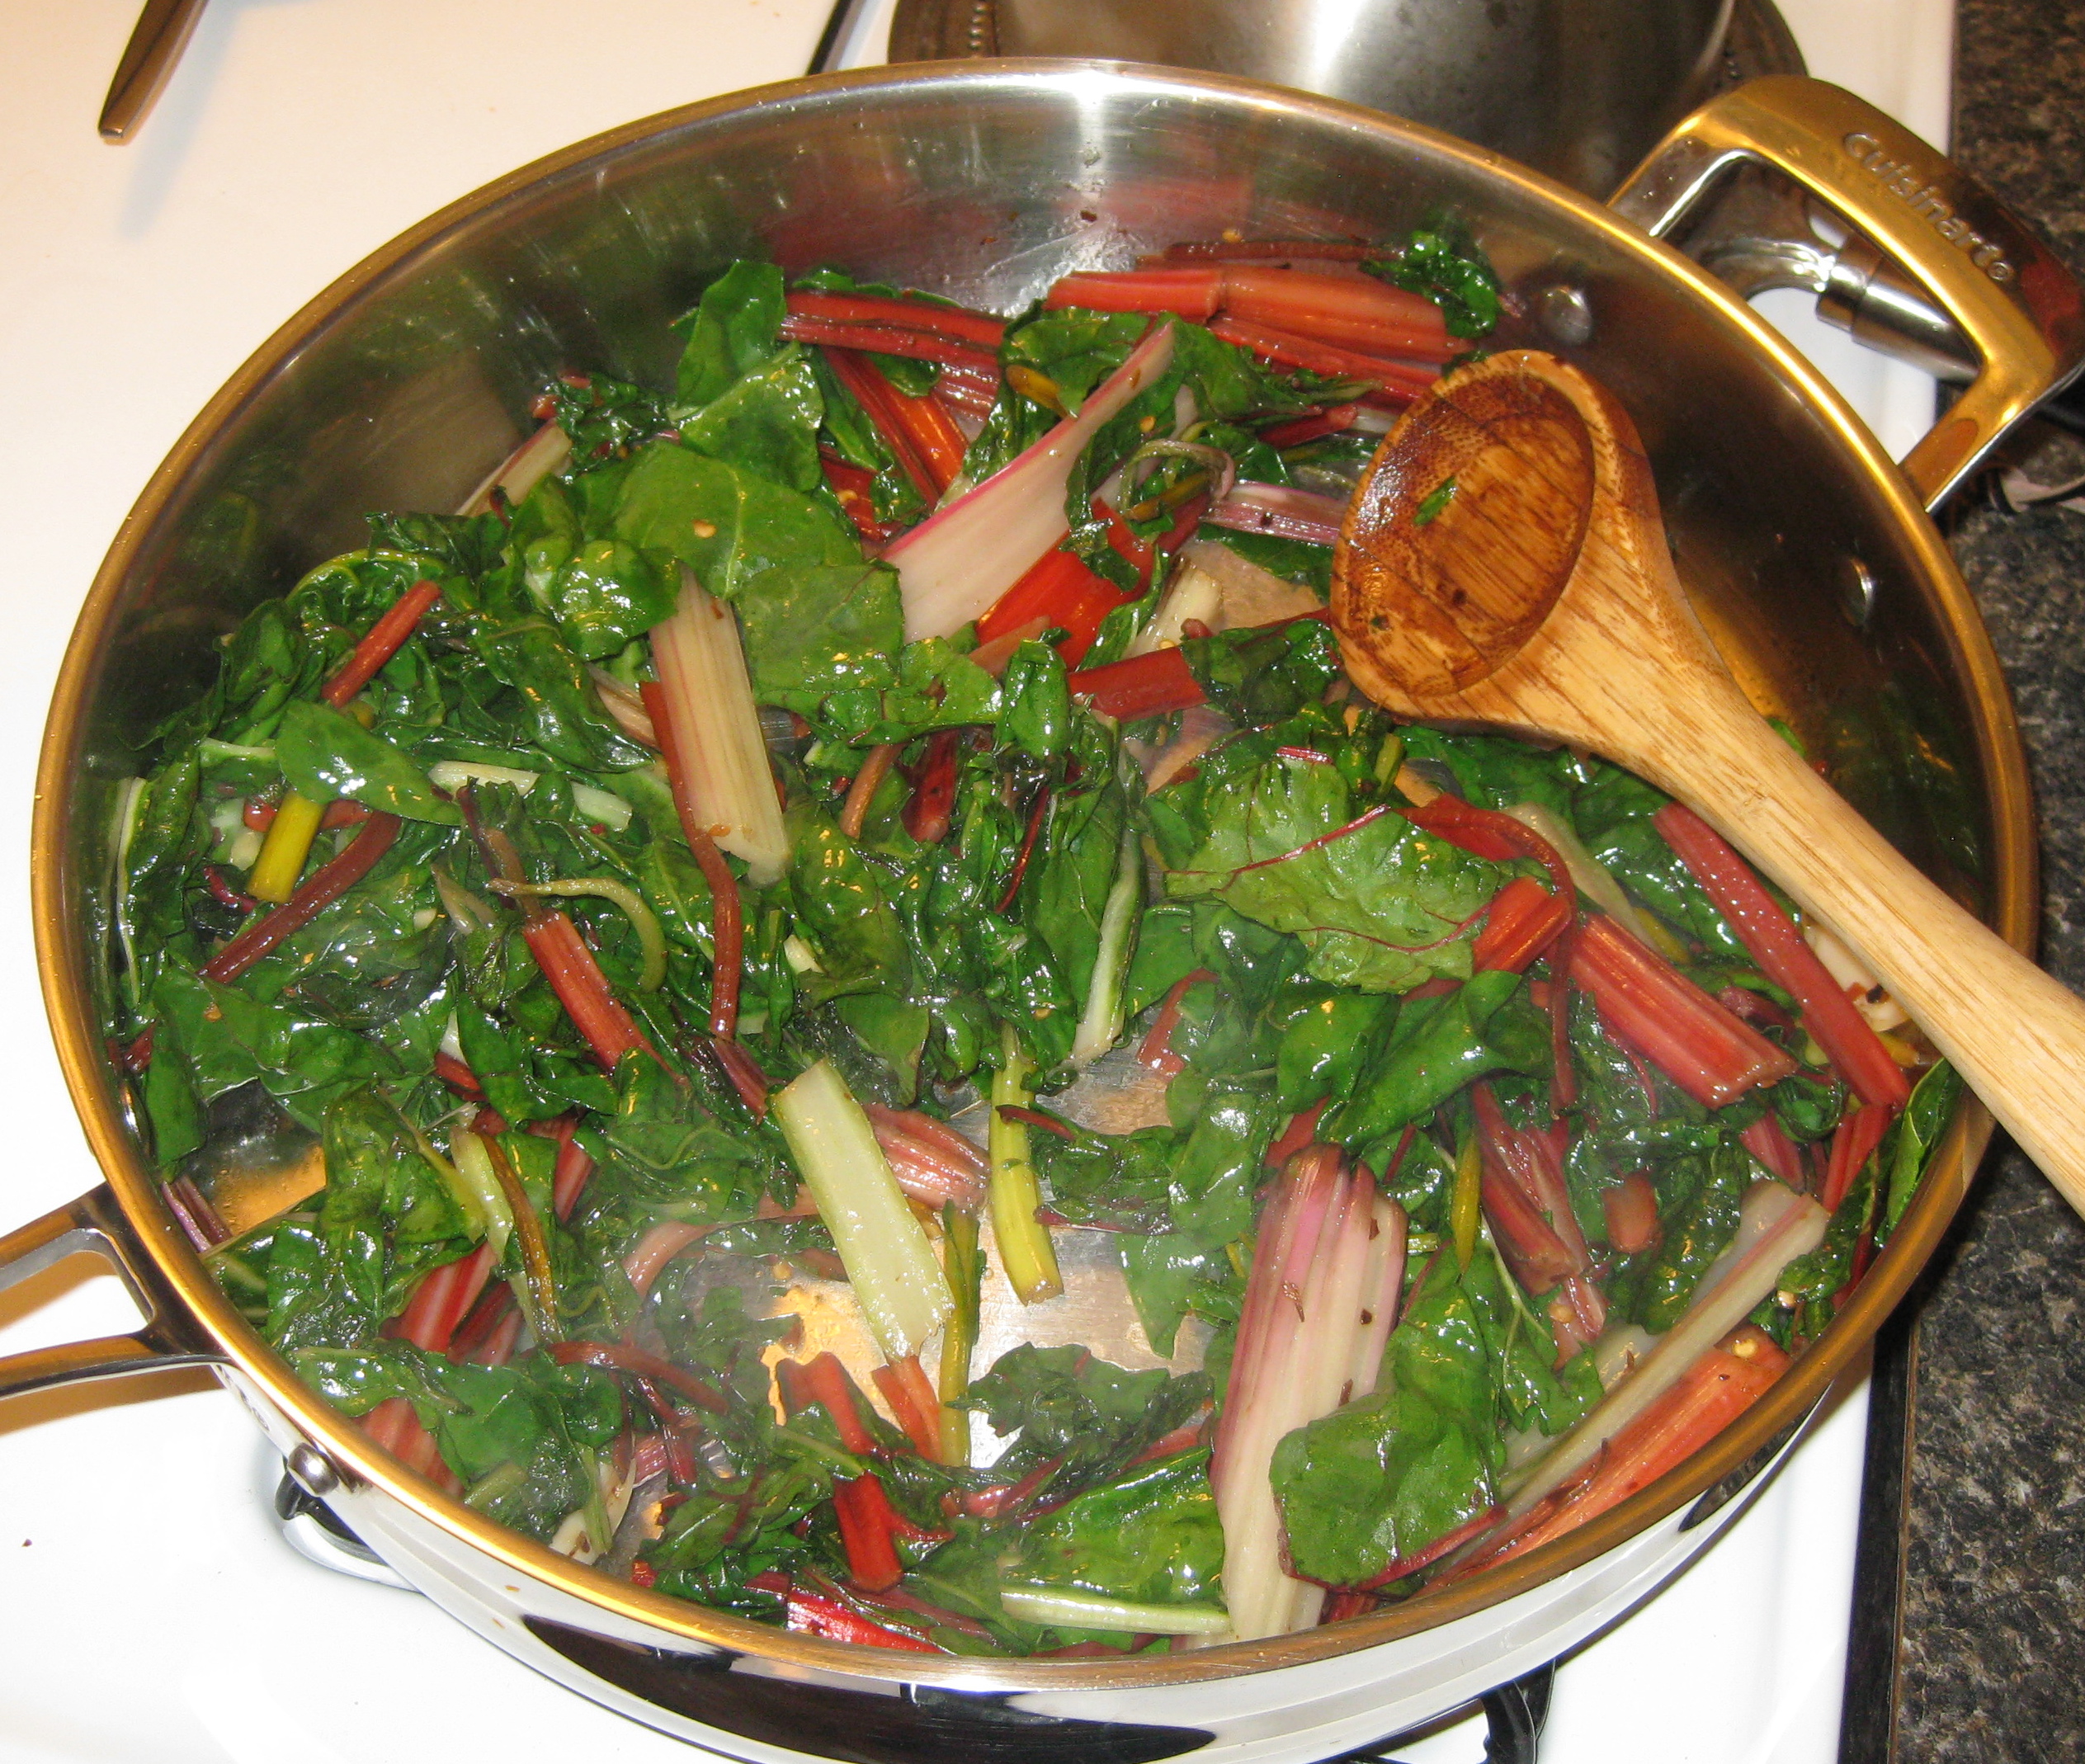
3) Put all the fruit and sugar into a large pot or skillet. Something low and wide is best. You can see the large skillet that I like to use in these pictures. Bring to a boil and cook for about 20 minutes. This time can vary depending on your pot. You want the jam to look thick and syrupy.

right after putting the fruit and sugar into the pot

right after putting the fruit and sugar into the pot


After a few minutes of cooking

After a few minutes of cooking

4) Add the lemon zest, juice, and pectin to the pot. Boil for 5 more minutes. You can tell the jam is done by stirring it and watching what happens. You want the jam to look thick and not to rush in to fill the space left by a spatula when you drag it across the bottom of the pan.

IMG_6856

Almost ready! Crazy how much it has transformed!

5) Turn the heat off of the jam. One at the time, remove a jar from the canning pot. I like to use tongs for this. Place the jar on a folded up towel or in a shallow dish that has been filled with hot water. Do NOT put it on your countertop without anything underneath it…it will crack! Use a funnel and a ladle to fill the jar. You want to fill it to within 1/4 inch of the top of the jar. Clean off the rim of the jar, add the lid and ring, and tighten the ring just a bit (We call this “fingertip tight”… it means you just use your fingertips to tighten the ring, not the strength of your whole hand. We don’t want the rings to be too tight because air needs to escape from the jar during and after processing.)

6) Repeat with all of your jars, then put them back in the canning pot using your jar lifter (mine came in the cheap set I mentioned at the beginning of this post).  Bring the water in the canning pot back up to a boil. Make sure that you have at least 1 inch of water above your jars. Since I use small canning pots, I always check this with a ruler. Boil for 10 minutes.

IMG_6857

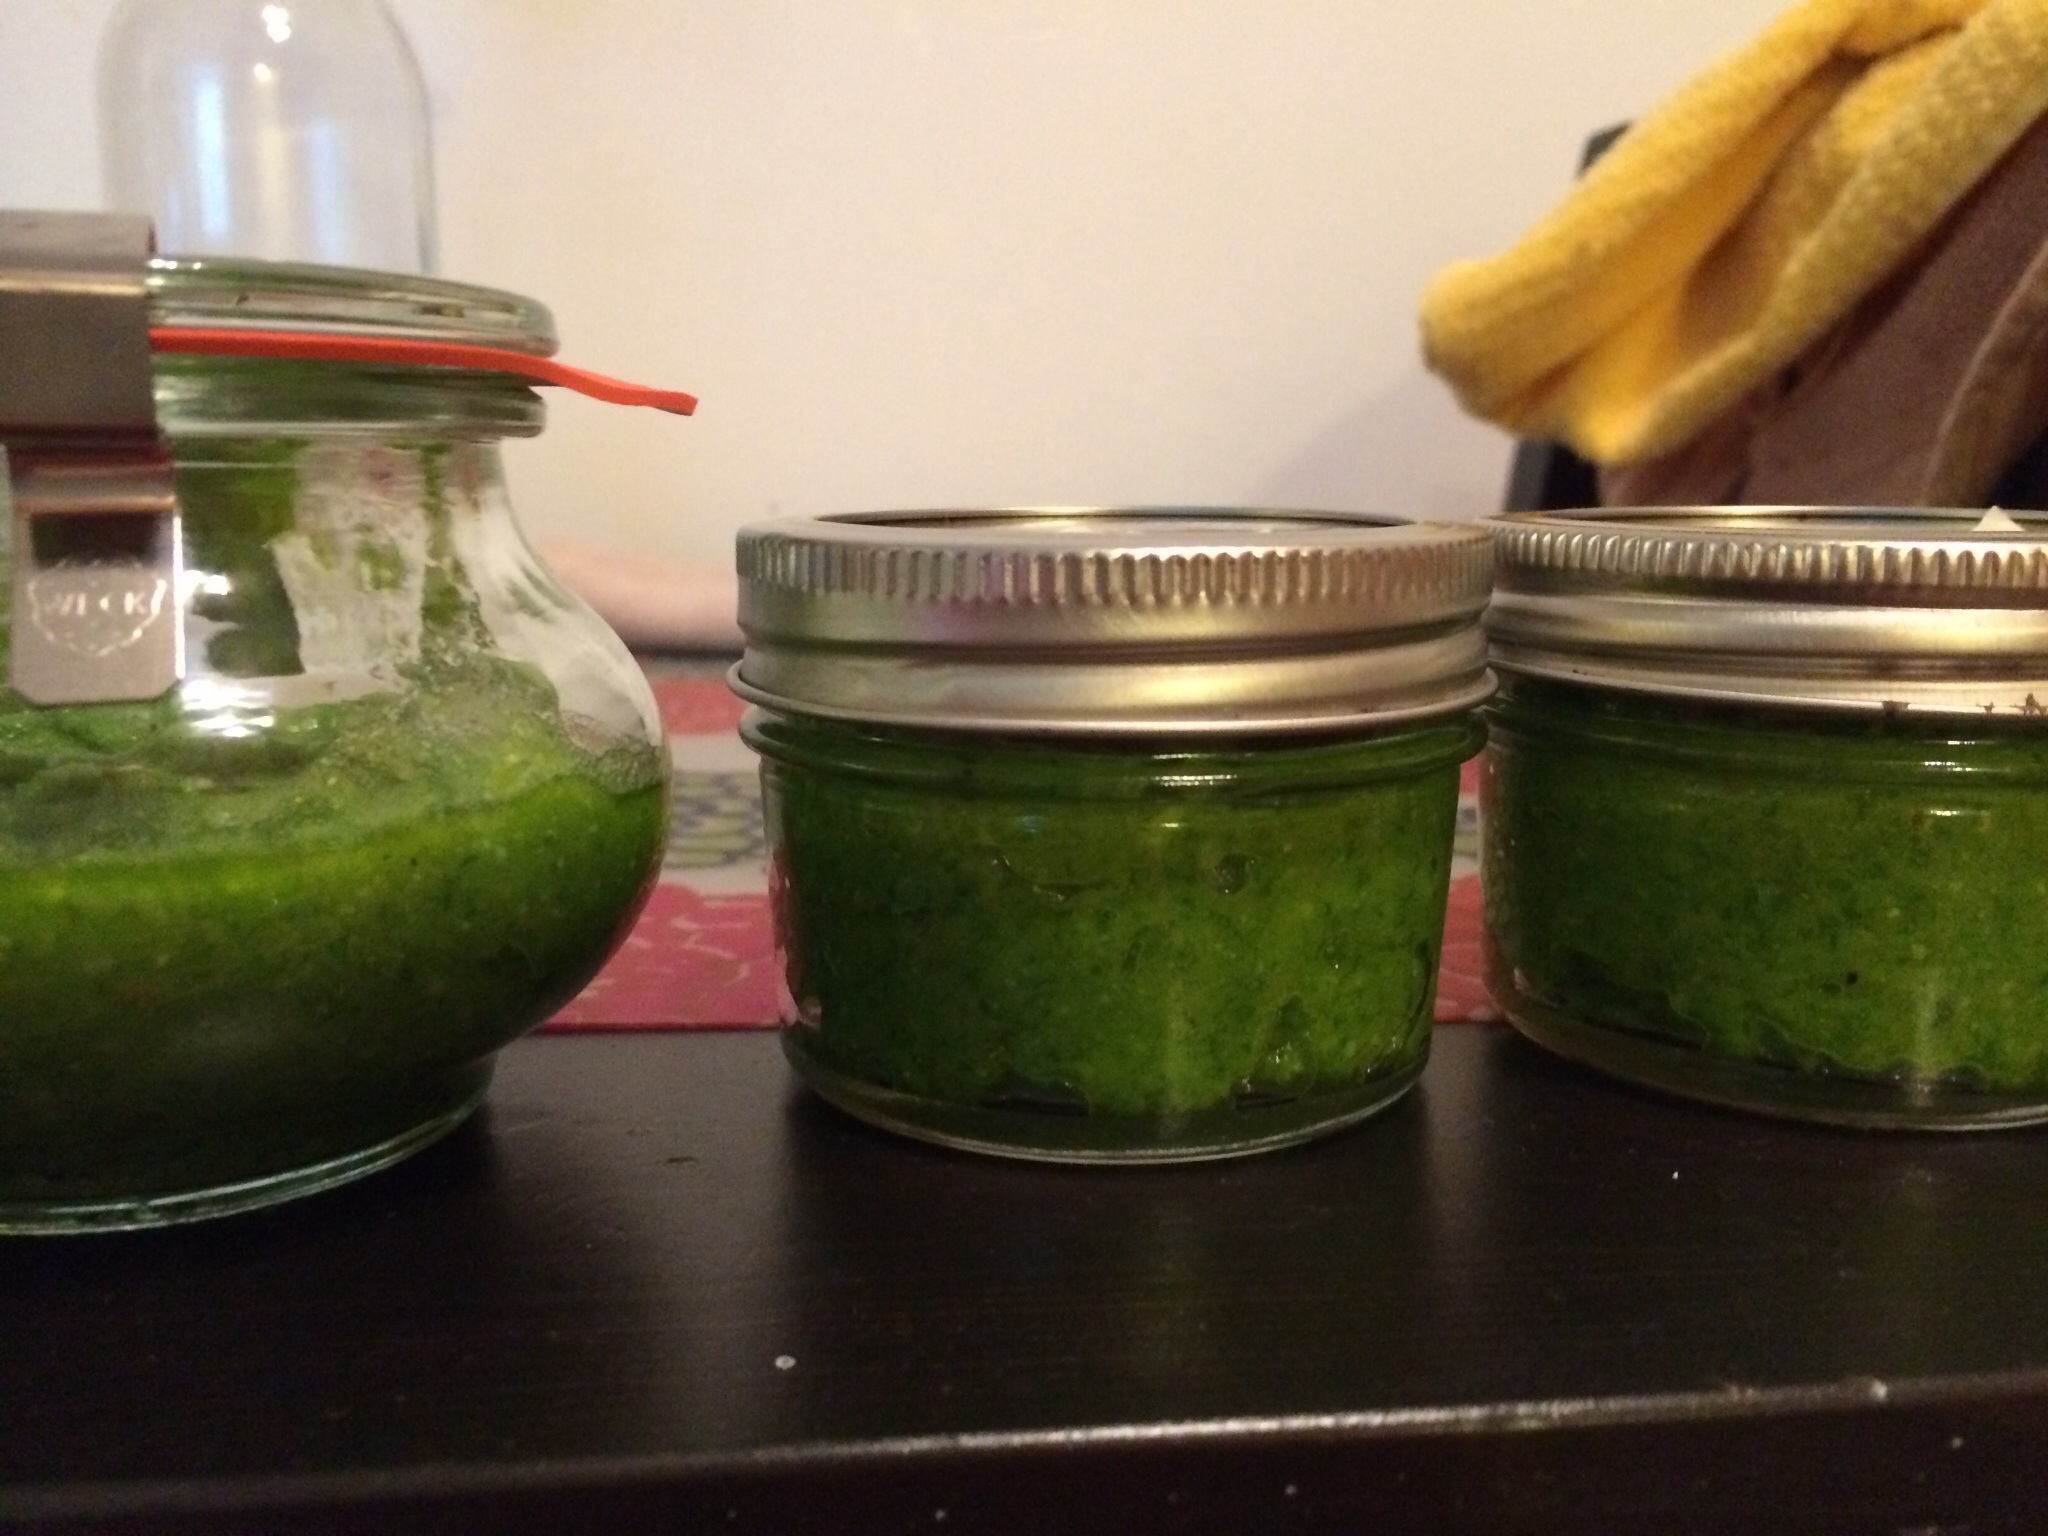
7) Take the jars out with your jar lifter and place them on a clean kitchen towel on your counter. A couple hours later, check the lids to make sure they have sealed. If you press down on the top of the lid, you should not hear the button pop back up. Another way to check the seals is to take the rings off the jar, and gently lift the jar a few inches just by holding on to the edges of the lid. It should hold. Make sure to label your jars with the contents and the month so you don’t have any mysteries later!

This one was not full, so I couldn't process it. Oh well, it went right into the fridge for me to eat!

This one was not full, so I couldn’t process it. Oh well, it went right into the fridge for me to eat!

It might sound complicated, but canning is really pretty easy! There are tons of resources online and you really don’t need to buy much stuff at all to get started. However, if you just want to make jam without worrying about the canning process, go for it!! Chop up your fruit, start with step #3 above, and just put your jam into clean glass or plastic jars or any container you like. Then keep them in the fridge or freezer and enjoy! This cherry-plum jam was definitely one of my favorite jams that I’ve made. I highly recommend it!


Using up veggies from my CSA boxes!

One of the things that made me a little nervous about signing up for the CSA was whether I would be able to find a way to use all the veggies that I knew I’d be getting. When I was a kid, I hated vegetables, but I’ve become a big fan of them over the years. I especially love roasted veggies. However, many of the vegetables I’ve gotten in my boxes are not the types that roasting works for…like swiss chard. So here are a couple things I’ve done with the veggies from my boxes!

Swiss Chard

IMG_6709

The chard I got from the CSA was actually rainbow chard. It was beautiful, but I had never cooked chard before! After some online research, I decided to sautee it. I actually used quite a bit of crushed red pepper, so this came out a little too spicy for me (but Andrew loved it!)

I cut the stalks off...love the colors!

I cut the stalks off…love the colors!

IMG_6711

I sauteed the stalks first, with some olive oil, crushed red pepper flakes, salt and pepper. After a few minutes I added the greens!

Almost ready!

Almost ready!

Beet Greens

IMG_6830

I got 3 beets that included a nice amount of beet greens. I had never cooked beet greens before, but I sauteed these too, and they were great!

IMG_6832

They cooked down quite a bit!

Sugar Snap Peas

I was so excited when I heard I was getting these…I found tons of recipes for them, but since I ended up going away for the weekend, I ended up just quickly sautéing these as well. I just did olive oil, salt, and pepper. They got so crispy and tasted amazing! I served these with chickem and some pasta with pesto sauce. The pesto is garlic scape and arugula pesto, which was another great use for some of my CSA produce.

IMG_6836


I have really enjoyed experimenting with the veggies I’ve been getting in my boxes! It’s been a great way to make sure that I’m eating a vegetable at every meal. Thanks for visiting!


Avocado Chicken Enchiladas

This recipe is one of my favorite meals to prepare and eat. It’s also the first meal that my boyfriend Andrew and I cooked together. It’s easy to adjust the spice level to your tastes. I used some cilantro from yesterday’s CSA box. The combination of flavors in this dish is amazing! It’s also easy to freeze leftovers.

IMG_6847

Avocado Chicken Enchiladas

adapted from The Novice Chef

Serves: 10 (1 enchilada per serving)

Time: About 50 minutes (30 active, 20 minutes of baking)

Wine Pairing: I served this with some Chardonnay from Truro Vineyards, but it would also be excellent with something sweeter, since it is a spicy dish.

Ingredients:
Sauce:

  • 1 tablespoon butter
  • 2 garlic cloves, minced
  • 1 jalapeño pepper, seeded and minced (optional…I left it out this time)
  • 1 tablespoon flour
  • 1 cup chicken broth
  • 1 tsp cumin
  • 1/4 tsp salt
  • 1/4 tsp black pepper
  • 1/4 cup chopped cilantro
  • 1 cup medium salsa verde (you can use mild if you prefer)
  • 1/2 cup fat free sour cream

Filling & Enchiladas:

  • 3 cups chopped cooked chicken breasts–I used my George Foreman grill, but I have also poached the chicken in the past. You can use leftover chicken if you have it. For today’s version I had just under 3 cups, so there ended up being a little less filling, but it worked out fine! In the past I have used 1 lb chicken breasts, which is a perfect amount.
  • 4 oz shredded Monterey Jack cheese (I used the kind with jalapeño peppers in it, since I didn’t have any fresh for the sauce)
  • 1 small or 1/2 a large yellow onion, chopped
  • 2 medium to large avocados (or 3 small ones), chopped
  • 10 flour tortillas (8 or 10 inches, depending on your preference. I used Trader Joe’s brand. Sometimes I use whole wheat tortillas for some extra nutrition)

Directions:

1) Preheat your oven to 375 degrees Fahrenheit. Spray a 9×13 pan, plus a smaller square or rectangular baking dish. Prep ingredients as needed.

IMG_6840

2) Combine the chopped chicken, onions, avocados, and the shredded cheese in a medium mixing bowl. Stir well to combine.

IMG_6838

3) Make the sauce: melt the butter over medium-high height in a medium saucepan. Add the garlic and jalapeño (if using), and cook for one minute. Add the flour and cook for 2 minutes, stirring constantly. Add the chicken broth, cumin, salt, and pepper (a whisk is good for stirring at this point), and bring to a gentle boil. Next, add the sour cream, salsa, and cilantro. Stir well to combine. Once the sour cream has melted and the sauce is smooth, remove from the heat.

IMG_6839

butter, garlic, and flour

4) Put about 3/4 cup sauce in the large 9×13 dish, and about 1/2 cup sauce into the smaller baking dish.

5) Fill the tortillas: Put about 2/3 cup chicken/avocado mixture in each tortilla and roll up as in the pictures below. Place each one seam side down in the baking dishes. It’s fine if they are touching each other in the dish.

IMG_6842

IMG_6843

IMG_6844

6) When you’re done filling all the tortillas, pour the rest of the sauce over all the enchiladas. Add a little extra cheese on top if you like. Bake for 15-20 minutes, or until bubbling. Serve and enjoy!

IMG_6849


3rd CSA Update

Last Tuesday, I picked up my 3rd CSA box. It was a little tough using some of these items, especially because I went to Cape Cod for the long weekend. But I didn’t have to throw anything out so I’m pleased! Here’s what I got:

– strawberries & blueberries: these were great raw, and I also made some muffins with some of the strawberries!
– sugar snap peas: I sauteed these with olive oil, salt and pepper. YUM!
– scallions: These are still in my fridge but they last a little while! I’m planning a pork dish in the crock pot that uses some of these.
– chives: frozen them chopped up and placed in a glass jar.
– beets: sauteed the greens (post coming soon!) and the beets are still doing great in the fridge.
– lettuce: salad!
– cucumber: gave it to my mom! 🙂


Today I picked up my 4th CSA box! These fruits and veggies seem like they will be really fun and easy to use.

IMG_6837

You’ll see in the above picture:

– zucchini
– blueberries
– cherries
– carrots: so cute!!!
– garlic scapes: the farm had extras of these so they threw some in. I’m going to try a different pesto recipe that has basil in it. (The one I tried with my last scapes didn’t have any basil in it.)
– tomatoes: 2 beautiful ones!
– broccoli: will probably roast this!
– lettuce: already ate some of this in a salad.
– cilantro: planning to use some of this for enchiladas soon!

I have several more posts planned for this week! Thanks for visiting!

Simmered Cabbage with Beef, Shan Style

Today’s recipe comes from Cooking Light. I actually discovered it in a cookbook called The New Way to Cook Light. I’ve made it a few times now and it’s seriously amazing. It’s a little spicy, but if you like things more mild, you can easily reduce the amount of ground red pepper. This is a great use for cabbage. I was excited when I found out that I had cabbage coming in the CSA box, because it meant I could make this recipe again! Another thing I love about this recipe is that it uses only a little ground beef but is still very filling. I like to serve it with brown rice.

When I last made this, I doubled the recipe because I wanted to use a whole head of cabbage. It makes great leftovers! This meal may not make for the prettiest pictures, but it’s delicious!

IMG_6751

Simmered Beef with Cabbage, Shan Style

Serves: 4 (1 cup per serving)

Time: about 35 minutes

I’ve never heard of “Shan” style food, but the cookbook says it’s Southeast Asian. Whatever it is…it’s delicious!

Ingredients:

  • 2 tablespoons peanut oil
  • 1 cup thinly sliced shallots (I use my mandoline because it’s out already for the cabbage! Usually I buy about 5 shallots to make sure I have enough.)
  • 1 tsp salt
  • 1 tsp tumeric
  • 1/2 teaspoon ground red pepper (if you don’t like spicy food, you can reduce this amount)
  • 1/4 pound ground sirloin (I used 90% lean beef)
  • 4 cups finely shredded cabbage (this is about half an average head of cabbage. I cut the cabbage into fourths and use my mandoline to slice each chunk thinly.)
  • 1 cup thin plum tomato wedges (this is about 2 tomatoes. I have left this out with no problem. Last time I made this, I used some frozen plum tomatoes that I have in a ziploc bag in my freezer. I cut up 2 tomatoes thinly and don’t worry too much if it’s exactly 1 cup or not.)
  • 1/3 cup coarsely chopped unsalted, dry-roasted peanuts. (I have used salted peanuts with no problem. I usually chop the peanuts roughly with a large knife. I like the peanuts to be in pretty big pieces)
Ingredients all ready to go!

Ingredients all ready to go!

Directions:

1) Heat the oil in a Dutch oven or large pot over medium heat.  Add the shallots, salt, and spices. Cook for about 3 minutes, until the shallots are soft. Stir frequently so the shallots don’t burn.

2) Add the ground beef and cook about 2 more minutes, until the meat is beginning to brown.

3) Add the cabbage and tomatoes to the pot, and stir well. The pot will look VERY full at this point…especially if you’ve doubled the recipe like I did for these pictures! Don’t worry, the cabbage will cook down.

4) Turn the heat down to medium-low. Cover the pot and cook for 10 minutes without stirring.

5) Add the peanuts and give the whole thing a good stir. Then cover the pot and cook it 10 more minutes. Serve! I like to eat this with brown rice all mixed in, but it’s great on its own too.

Just before adding the cabbage.

Just before adding the cabbage.

With cabbage added

Just after adding the cabbage. It looks so full, but don’t worry!

Simmered beef and cabbage

Just about ready to serve.

Pasta with Sausage and Zucchini

This is a delicious pasta recipe that comes courtesy of my boyfriend Andrew’s mother, Ena. It’s an easy and tasty meal that’s also very flexible and forgiving. I made it a couple of weeks ago with some grocery store zucchini, but I’m excited to make it again with some CSA zucchini if and when I get some!

Pasta with Sausage and Zucchini

Pasta with Sausage and Zucchini

Serves: 6-8, depending on portions. To keep calories under control, I like to weigh out 2 oz of dried pasta per serving.
Time: about an hour

Ingredients:

  • 1 package of Italian sweet sausage (they come in packages of 6. You could lighten this recipe up by using chicken sausage)
  • 28 oz can of crushed tomatoes (I used whole tomatoes, and I crushed them in a bowl with a potato masher)
  • 1 lb pasta–the traditional choice here is rigatoni, but you could also try something like penne or rotini
  • 2-3 tablespoons olive oil, divided
  • 2-3 cloves garlic, sliced
  • salt and pepper, to taste
  • 2 medium zucchini (these will be thinly sliced)

Directions:

1. Put the sausage in a large skillet or saute pan with a cover and add about 1/4 cup water. Cook the sausage for about 15 to 20 minutes to get the fat out, piercing the sausages a few times each with a fork about halfway through cooking.

2. Remove the cover and cook till water is almost gone (about 5-10 more minutes).

3. Add about 2 tbsp of olive oil and brown the sausages.

4. Remove to a plate. To the pan, add about 1/2 tablespoons more olive oil and the garlic. Saute the garlic for about a minute.

5. Slice the sausage. To the pan add the sausage, tomatoes, and salt and pepper to taste. Simmer on medium-low for about 20 mins. Meanwhile, thinly slice the zucchini. I used my mandoline, which works great. While the sauce is simmering, bring salted water to a boil and cook the pasta.

IMG_6695

Tomatoes, sausage, garlic, and olive oil simmering away!

6. After the sausage & tomato have simmered for 20 minutes, add the sliced zucchini. Cover and cook till zucchini is tender, which will take about 15 more mins. Taste the sauce and add salt and pepper to taste if desired.

Beautiful zucchini and garlic

Beautiful zucchini and garlic

7. Toss the pasta and sauce together and serve. This is enough sauce for 1 lb of pasta, but you can make less pasta and freeze some of the sauce instead. That’s what I did…I love making enough food for a few meals and freezing the extra for quick and easy dinners later!

CSA Update

I had a lot of fun (and some stress) using the fruits and veggies from my first CSA box! I was a little worried about using it up before it all went bad, but it turned out fine! Here’s what I did with the goodies:

– spinach & lettuce: used both of these for salad! Yum.

– baby bok choy: I used this in a wonton soup…I found the recipe online and modified it pretty significantly, I might post it later!

– strawberries: ate these raw…they were delicious!!!

– fresh mint: I waited awhile before doing anything with this. Then I realized it was starting to go brown and decided to freeze the rest. I used the ice cube tray method, which worked great.

– asparagus: I roasted these with a little olive oil, salt and pepper at 400 degrees for about 10 minutes. It turned out delicious!!


Last Tuesday I picked up my second box! This one contained:

– parsley, which I froze in logs based on a method I found online.

– strawberries, which I ate raw (again!)

– asparagus, which I roasted (again!)

– cabbage, which I used in a recipe from Cooking Light and will definitely be posting soon!

– arugula, which I used to make pesto along with the…

– garlic scapes! My first time trying them. They were crazy looking but I’m excited to try them in the pesto!

– kale, which I cooked as kale chips. I love doing this with kale and I’ll post my method soon.

– Kirby cucumbers. I pickled these using the garlic dill pickling spice from this pickling spice set from Crate and Barrel. This set is great. I received it as a birthday present from my boyfriend Andrew’s sister Adrienne! Thanks A!

Chopping the garlic scapes for the pesto!

Chopping the garlic scapes for the pesto!


Cucumbers and the pickling spice

Cucumbers and the pickling spice

Turning the cucumbers and a few asparagus into pickles!

Turning the cucumbers and a few asparagus into pickles!

Beautiful pickles

Beautiful pickles